Main points
- Adjust stem controls to accommodate multiple noise reduction modes
- Turn on Siri notifications instead of switching to noise-canceling mode
- Customize call controls and microphone settings on AirPods
When you first receive your AirPods Pro, it can be difficult to figure out how to set them up, especially if you’re switching from traditional wired headphones or stylish over-ear headphones. I’ve had AirPods Pro for almost two years and am still learning how to maximize features for optimal performance.
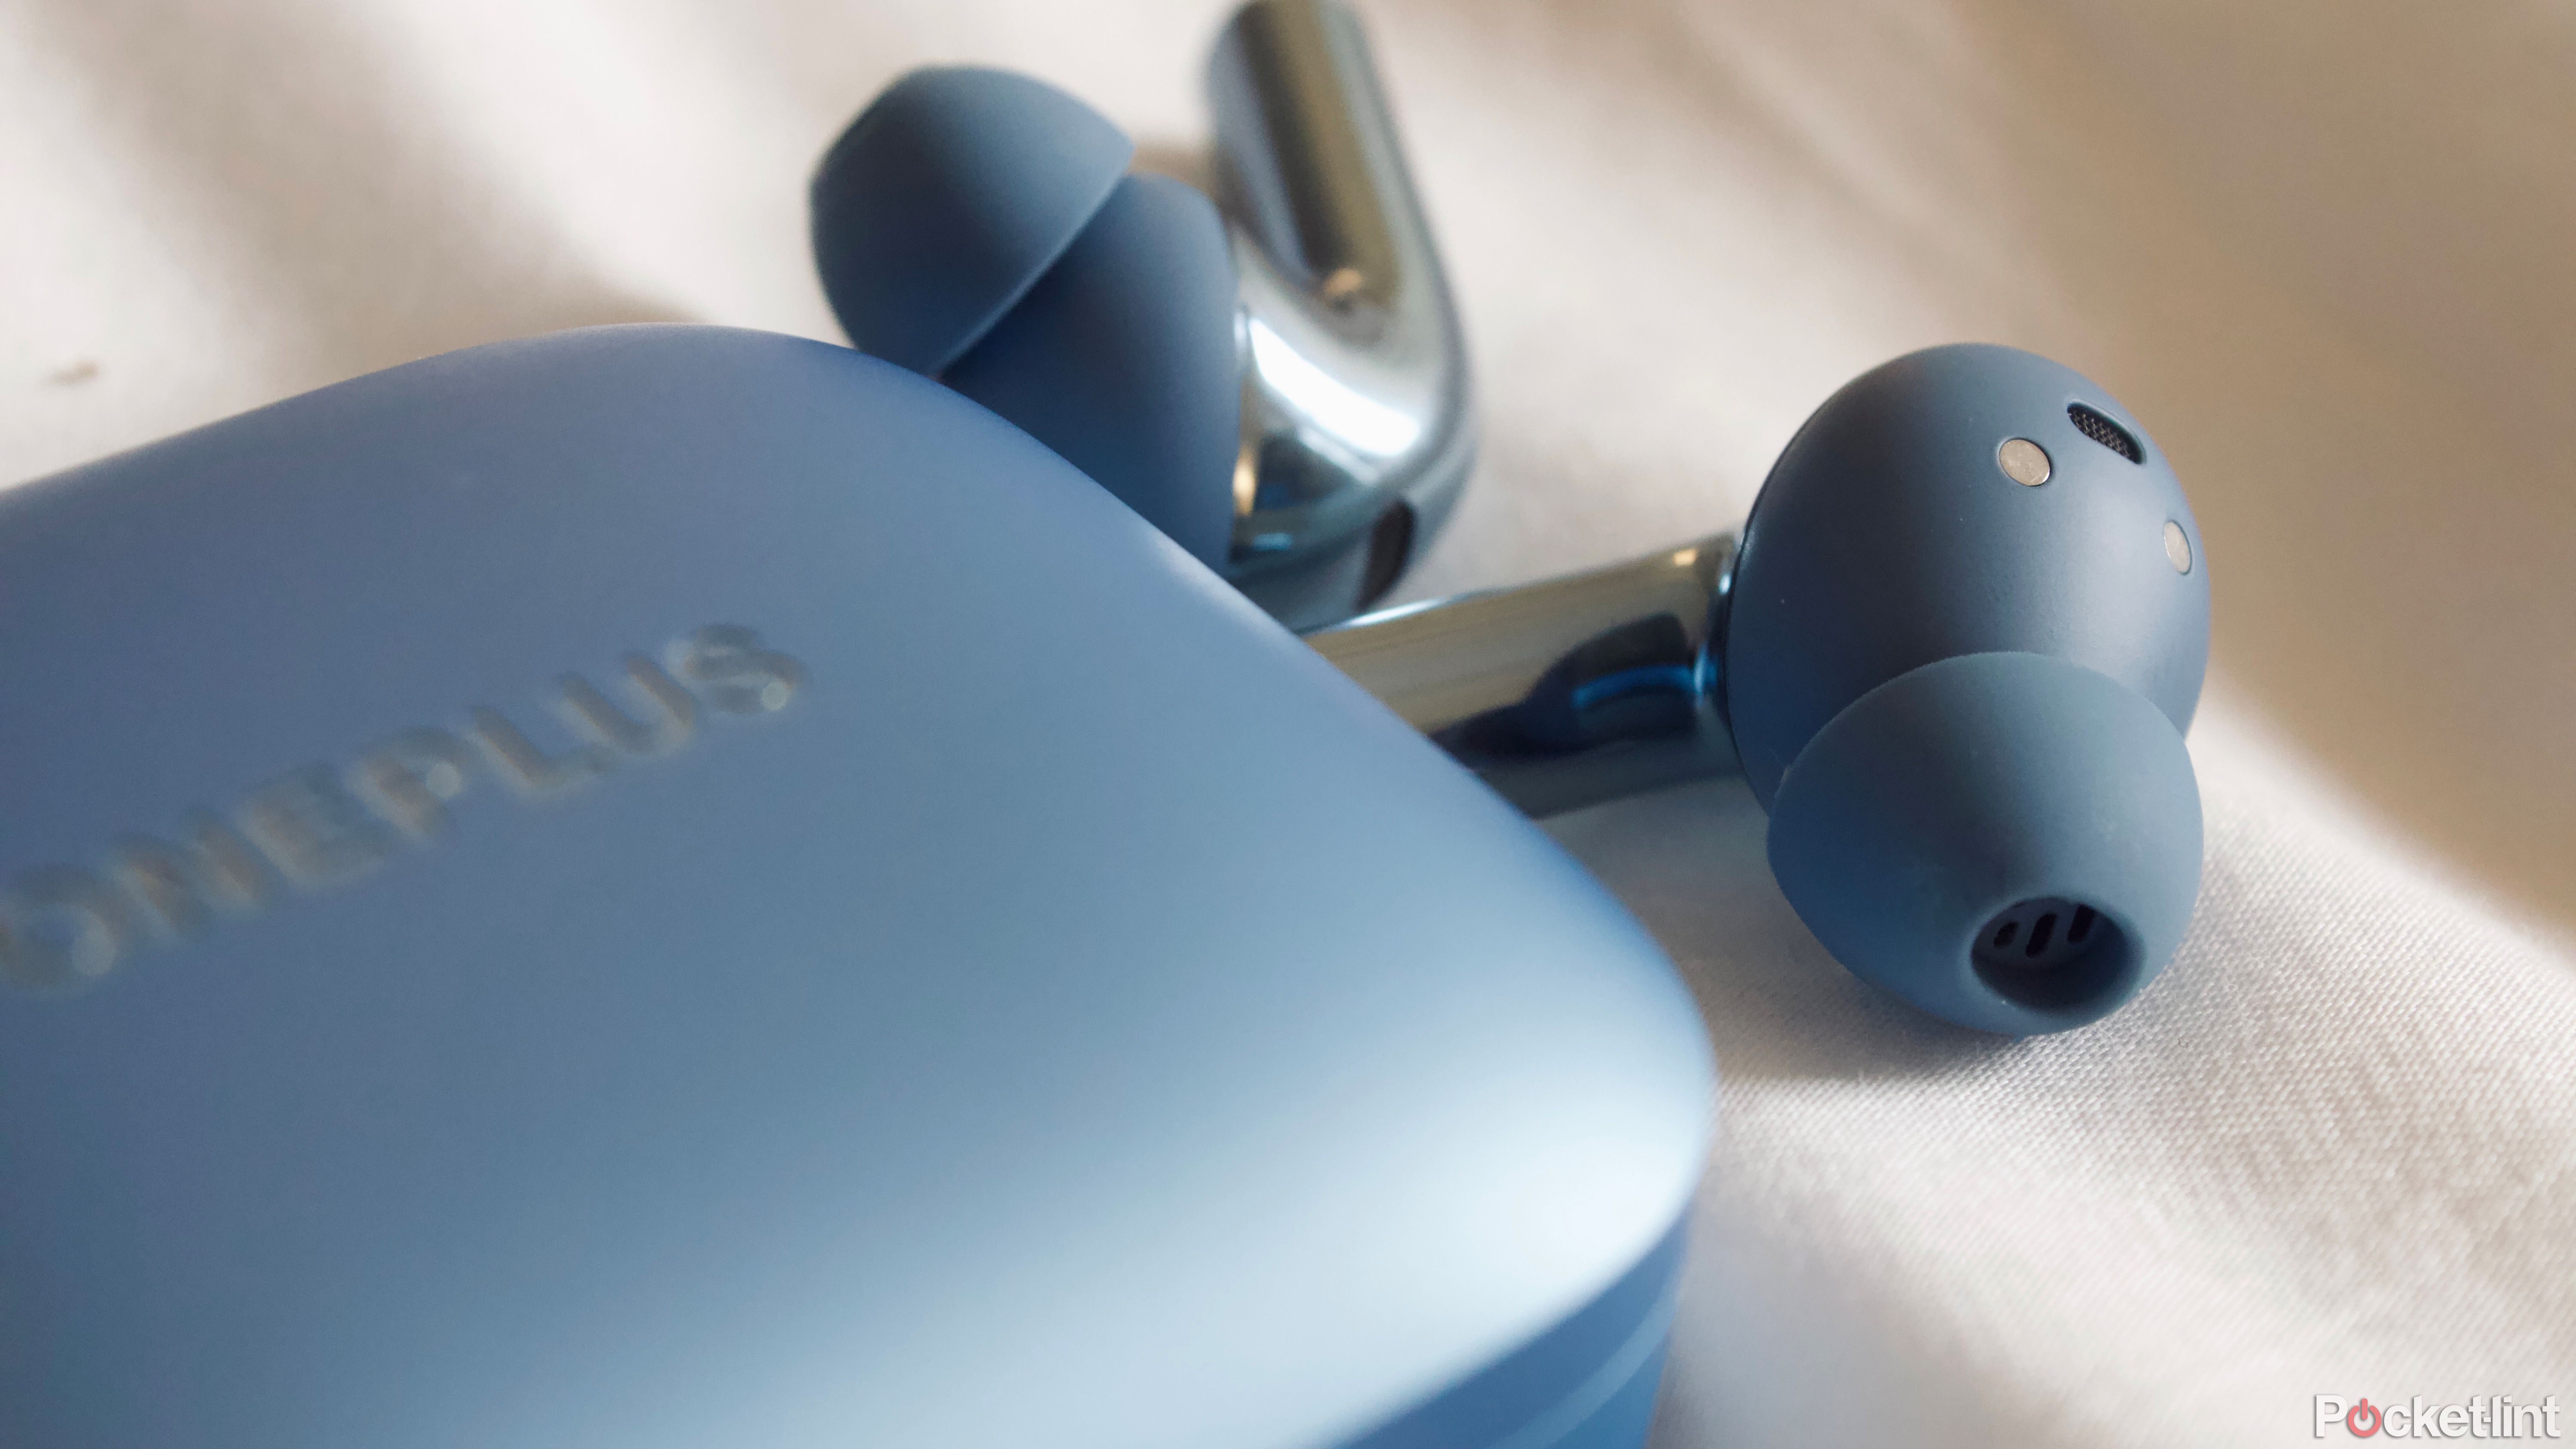
3 reasons why OnePlus Buds 3 are better than AirPods Pro (and 2 more)
These five feature differences lead me to choose the new OnePlus Buds 3 over the AirPod Pro 2 most of the time, but not always.
If you’re looking for a simple guide to customizing the touch controls on your AirPods Pro and don’t want to browse the entire Apple website to find out how to change them, we’ve got you covered with a getting started guide on the different touch controls on AirPods Pro and how to customize them.
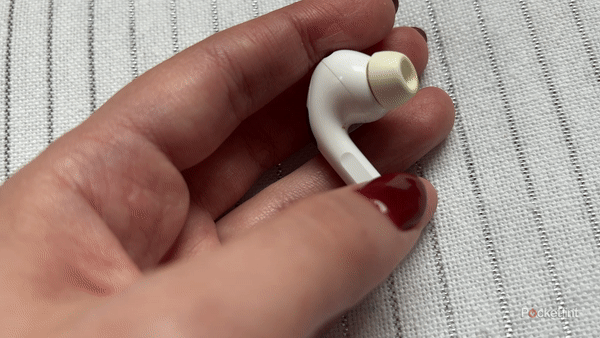
1 Adjusting stem control is more than just switching to ANC
Squeezing the stem means more than just switching to and from ANC

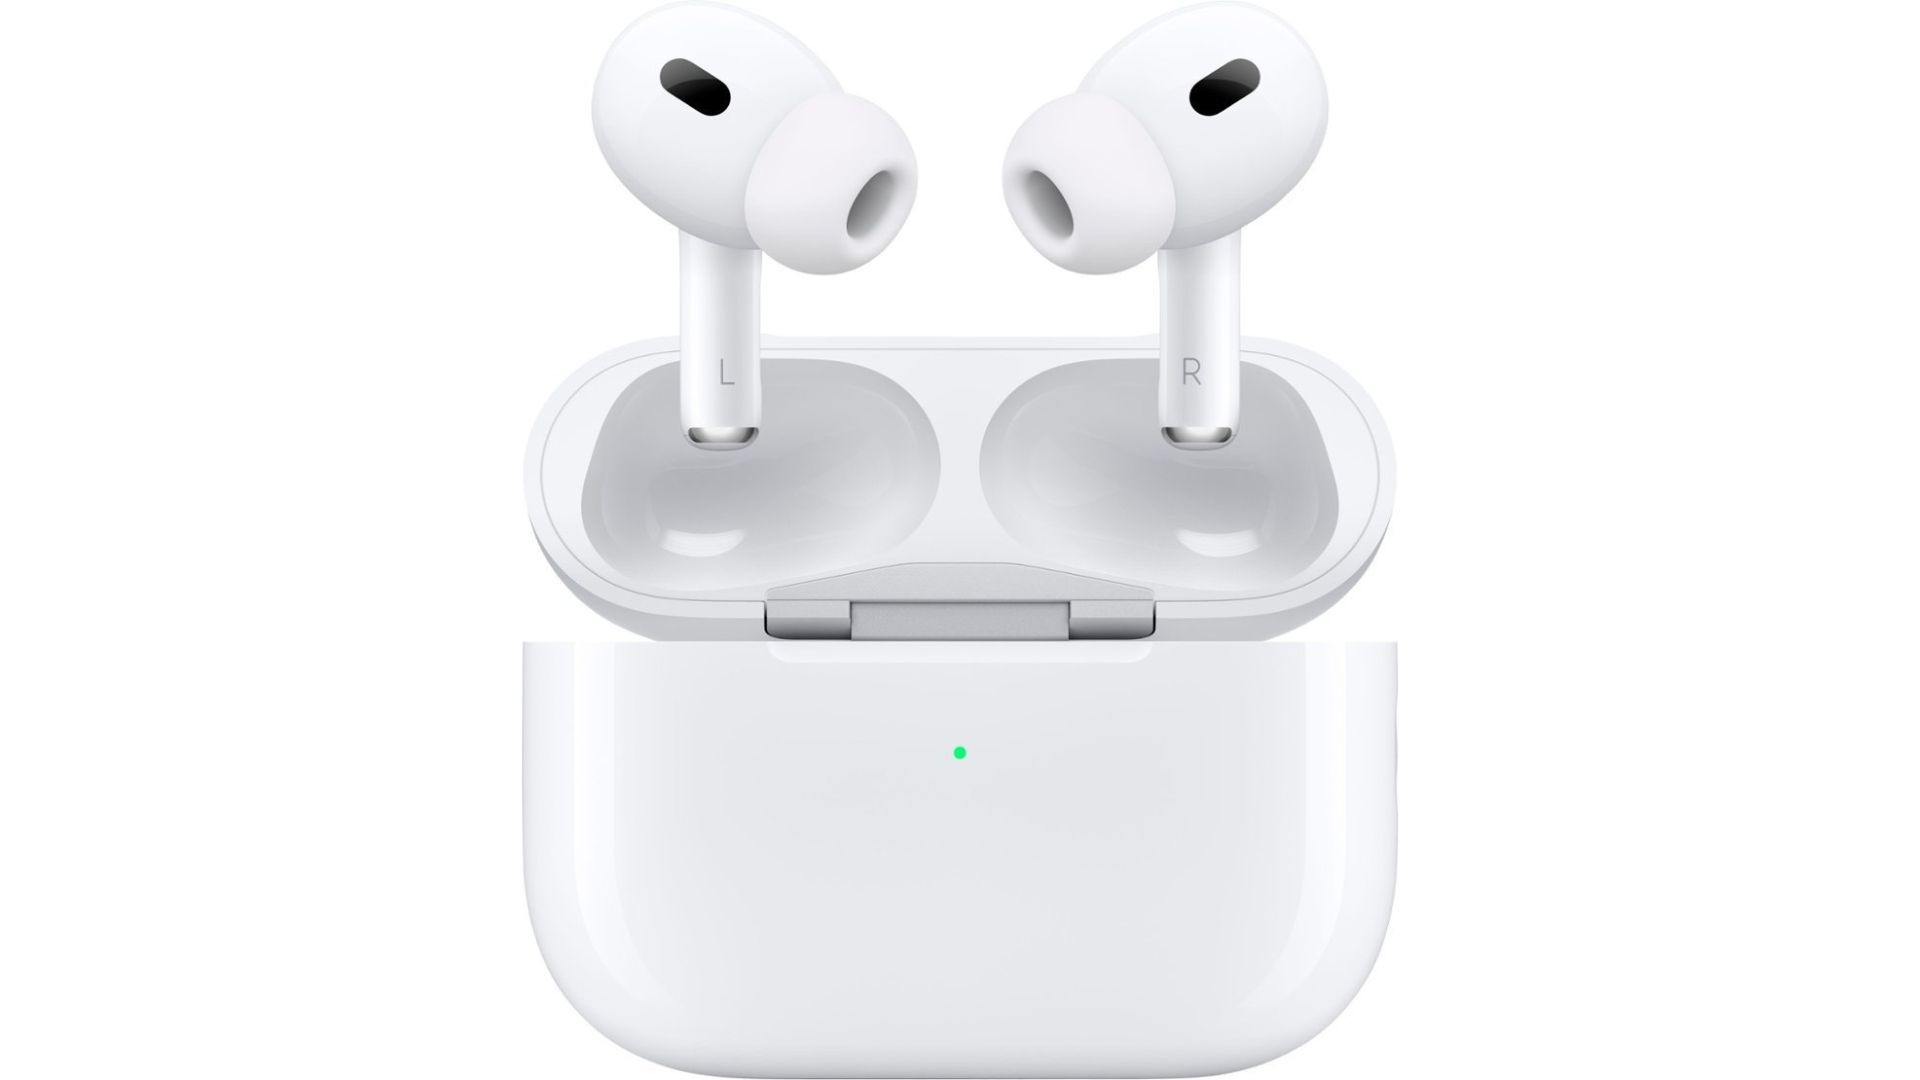
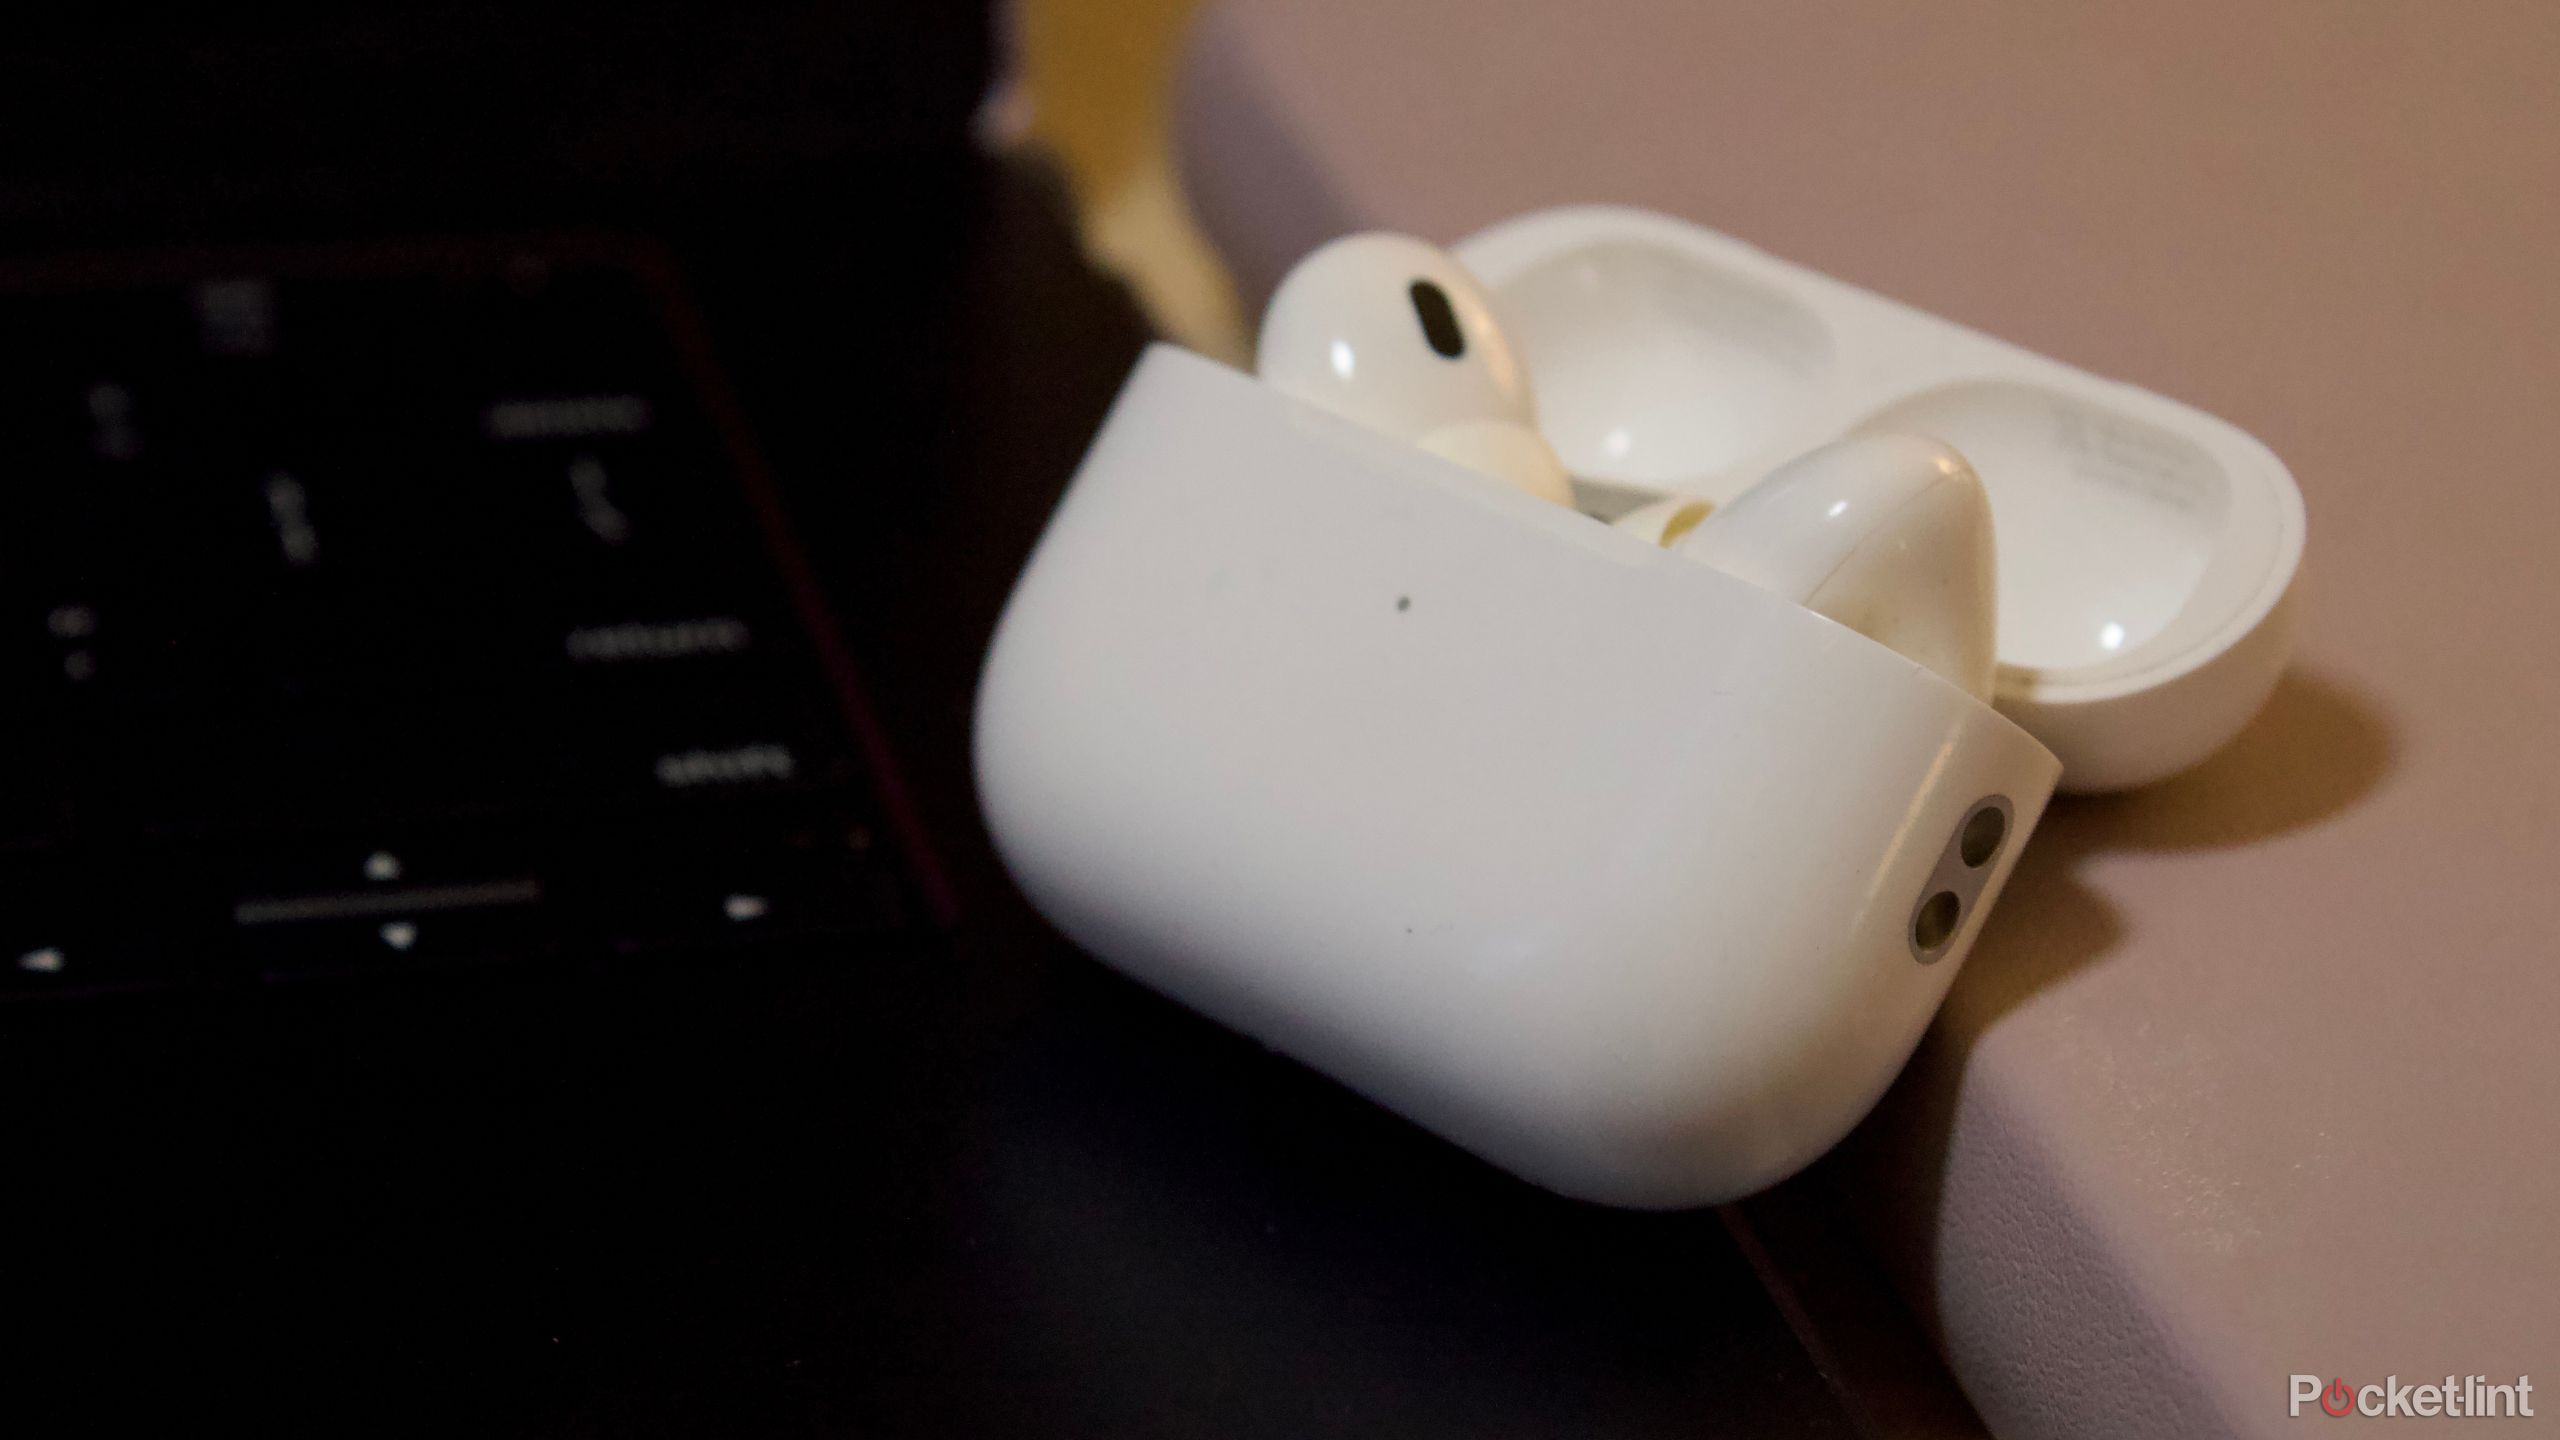
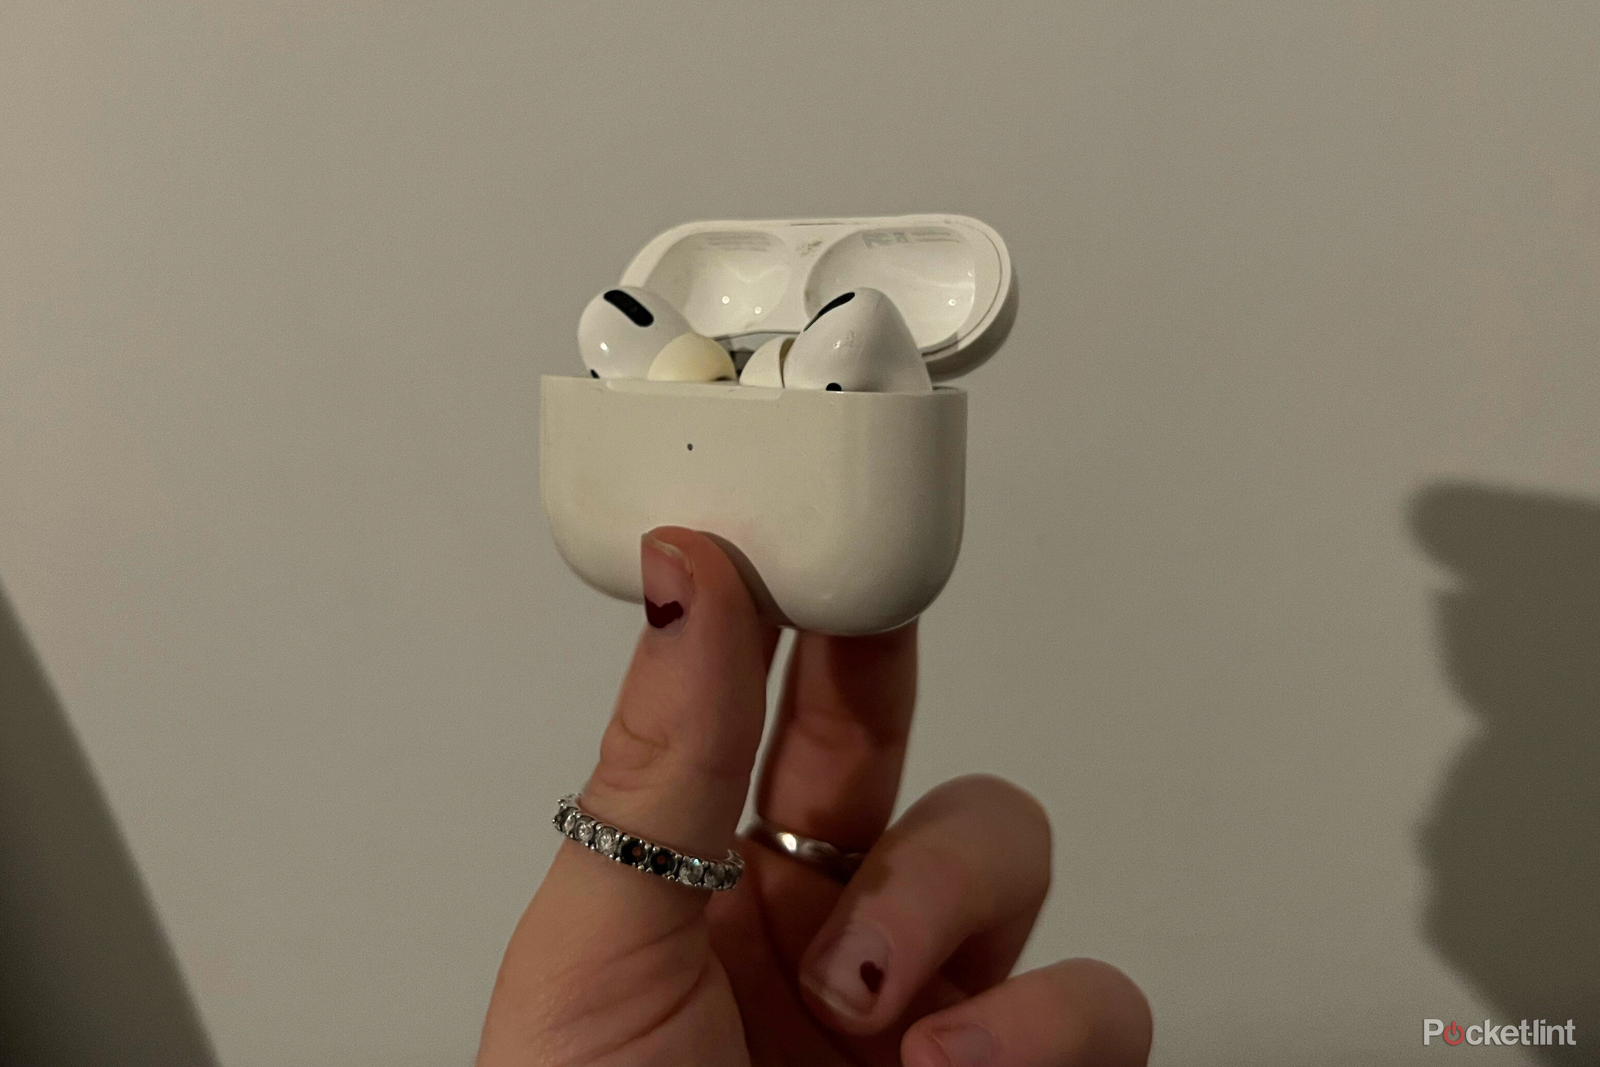
Apple AirPods Pro (2nd generation)
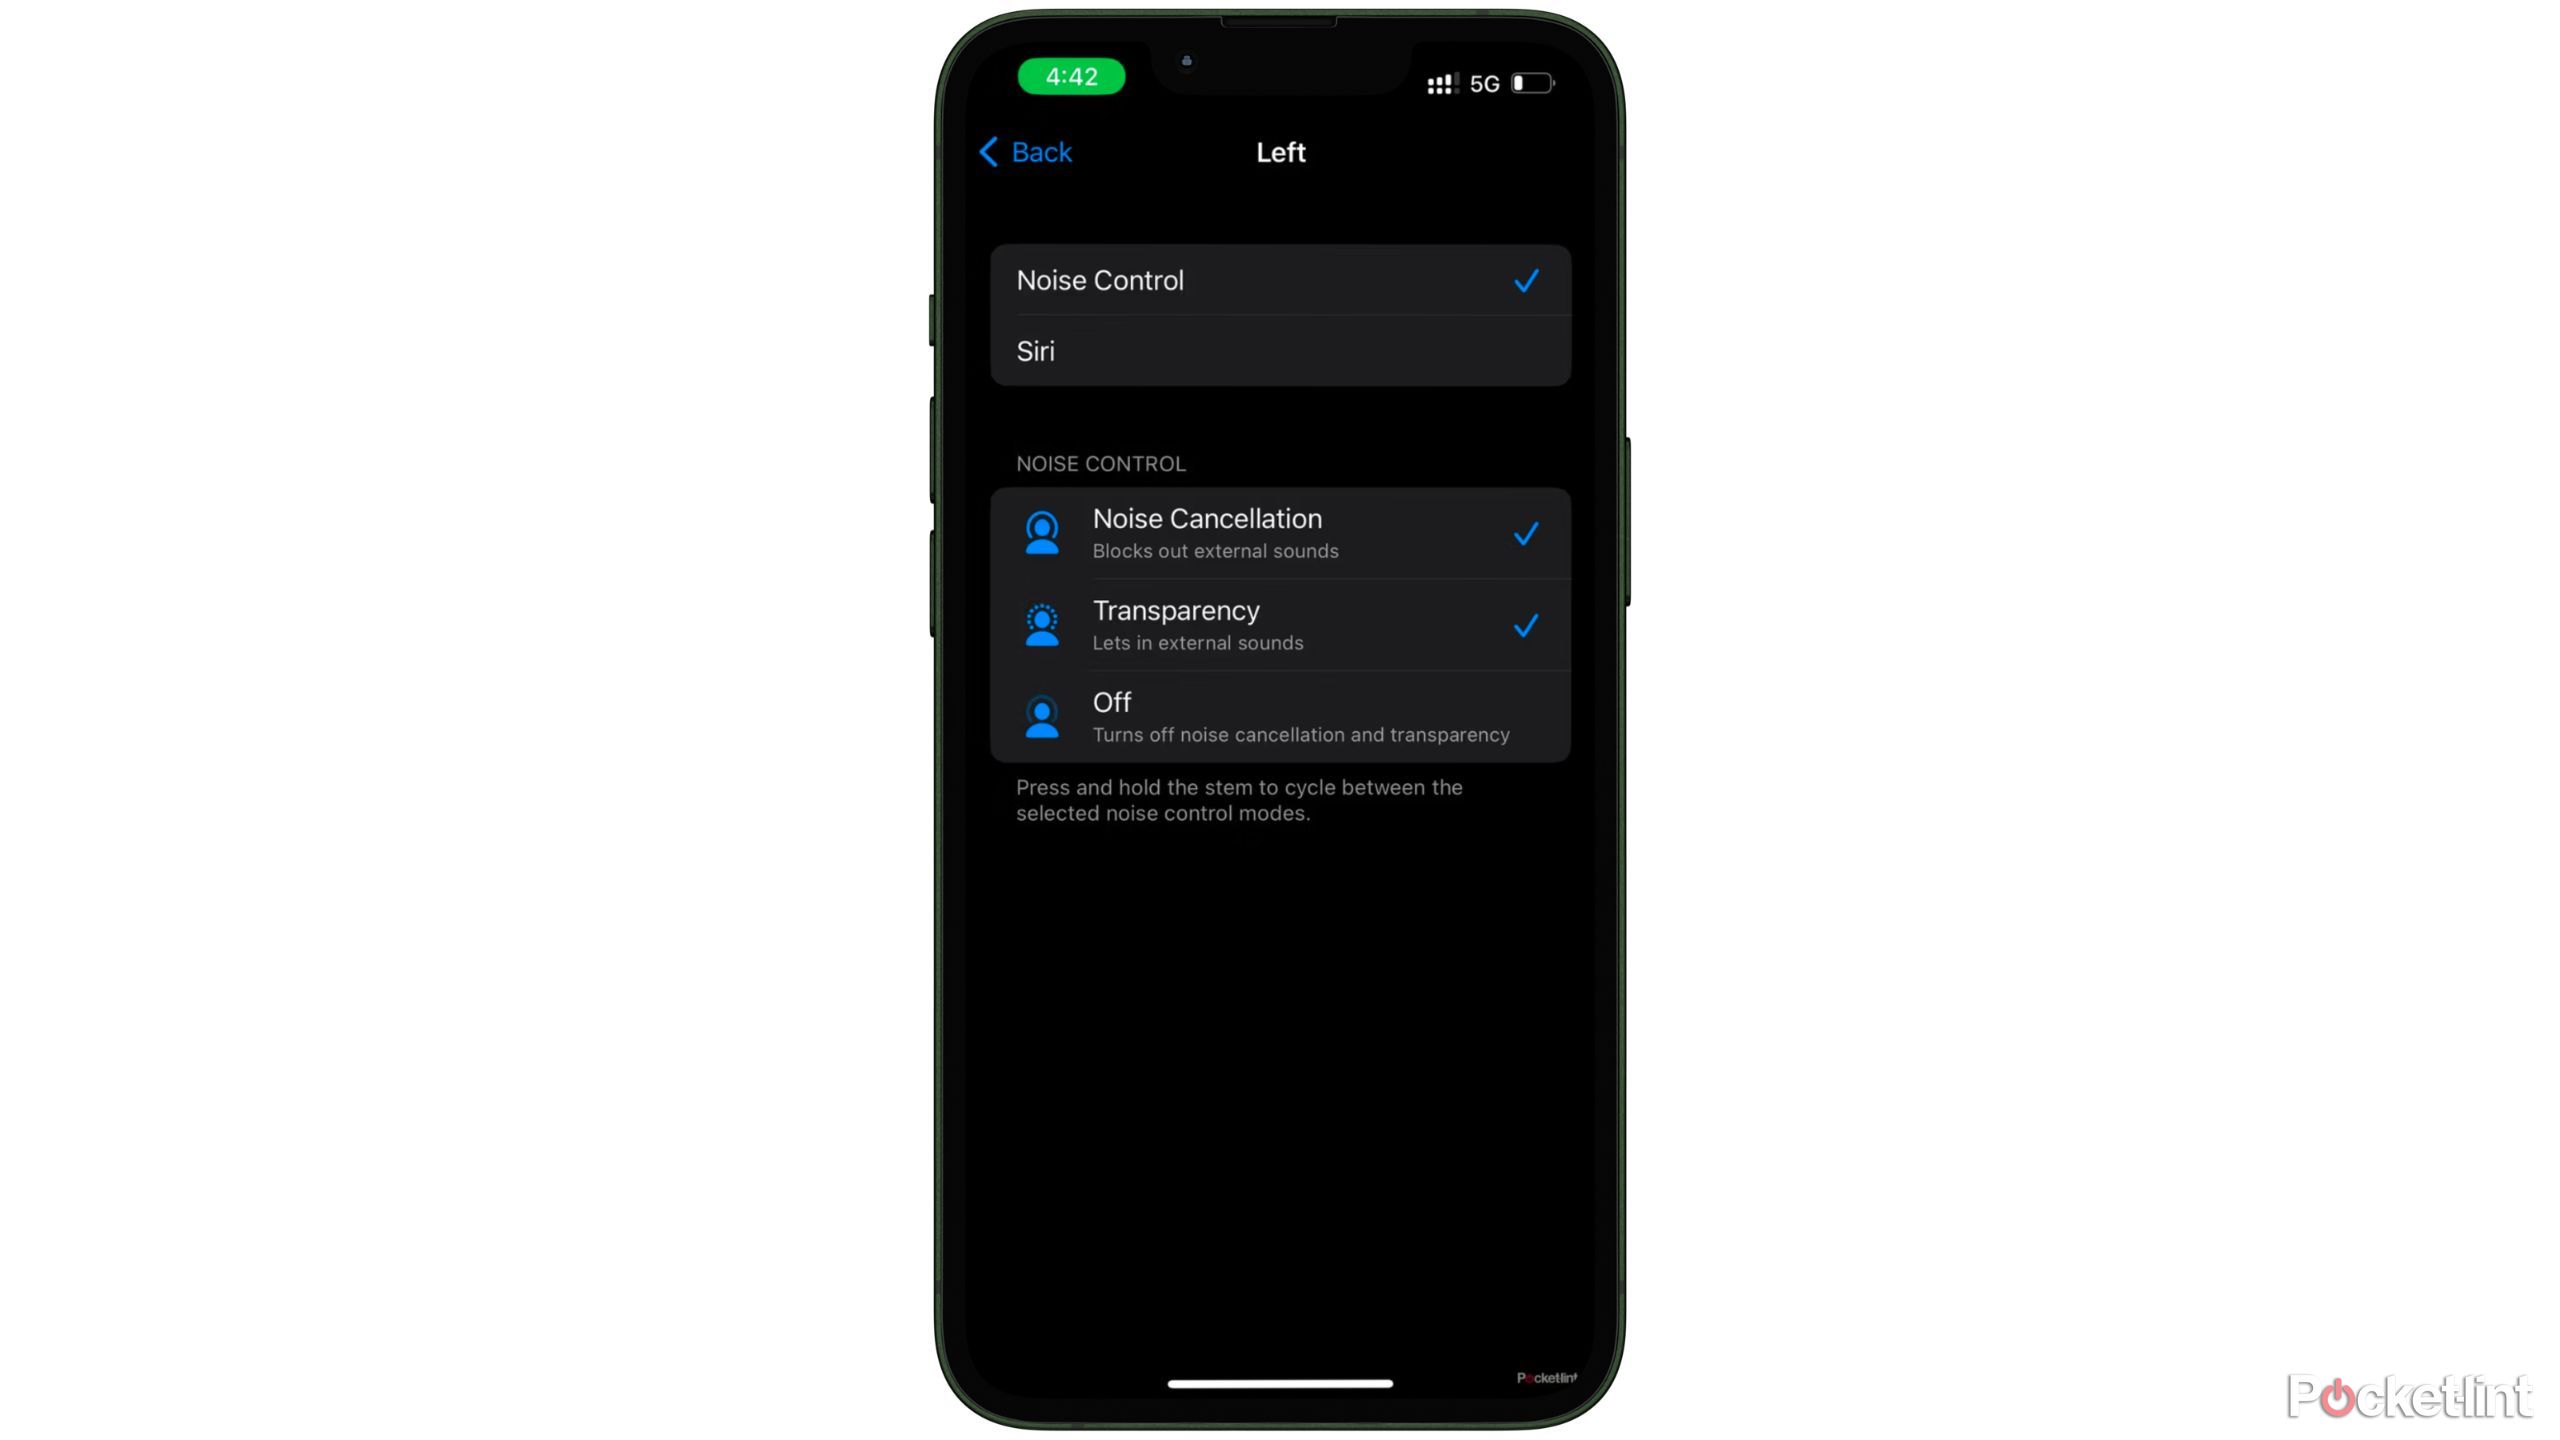
When you first get your AirPods, you can control your music by clicking on the AirPods stem. With a gentle squeeze of the handle, you can play or pause music and answer calls. However, when you hold the AirPods by the handle, you’ll hear a chime and then be able to switch between noise-canceling and transparency modes.
The default settings allow you to switch between transparency and noise reduction modes, but if you want to change it, follow these steps:
- connect Connect AirPods Pro to your phone or laptop.
- Go to settings:
- If you’re using an iPhone, you should go to Settings and tap the name of your AirPods.
- If you are using a Mac, go to Apple menu>System Settings, Then click on the name of your AirPods.
- under “Press and hold AirPods”, Click on the AirPod you want to adjust.
You can then choose to turn off the ability to switch noise-canceling modes on your AirPods, or adjust the mode you want to switch to.

2 Turn on Siri notifications
Ask Siri to announce an incoming call or text message
As mentioned, by default, your AirPods will allow you to toggle noise-cancelling mode by gently holding and squeezing either AirPod. If switching noise-canceling modes on your AirPods isn’t your top priority, and you can adjust the mode on your phone, you can choose to turn on Siri on your AirPods. To do this you need:
- Go to settings:
- If you’re using an iPhone, you should go to Settings and tap the name of your AirPods.
- If you’re using a Mac, go to Apple Menu > System Settingsthen tap the name of your AirPods.
- choose “Press and hold AirPods.”
- switch this Xili options.
Clicking “Siri” in settings will automatically turn off your ability to switch between noise-canceling modes via touch controls.
To adjust the noise canceling mode on your phone, you can do it in the Settings app or by holding down the volume control on Control Center. Click the noise control button in the lower left corner and adjust the settings there.
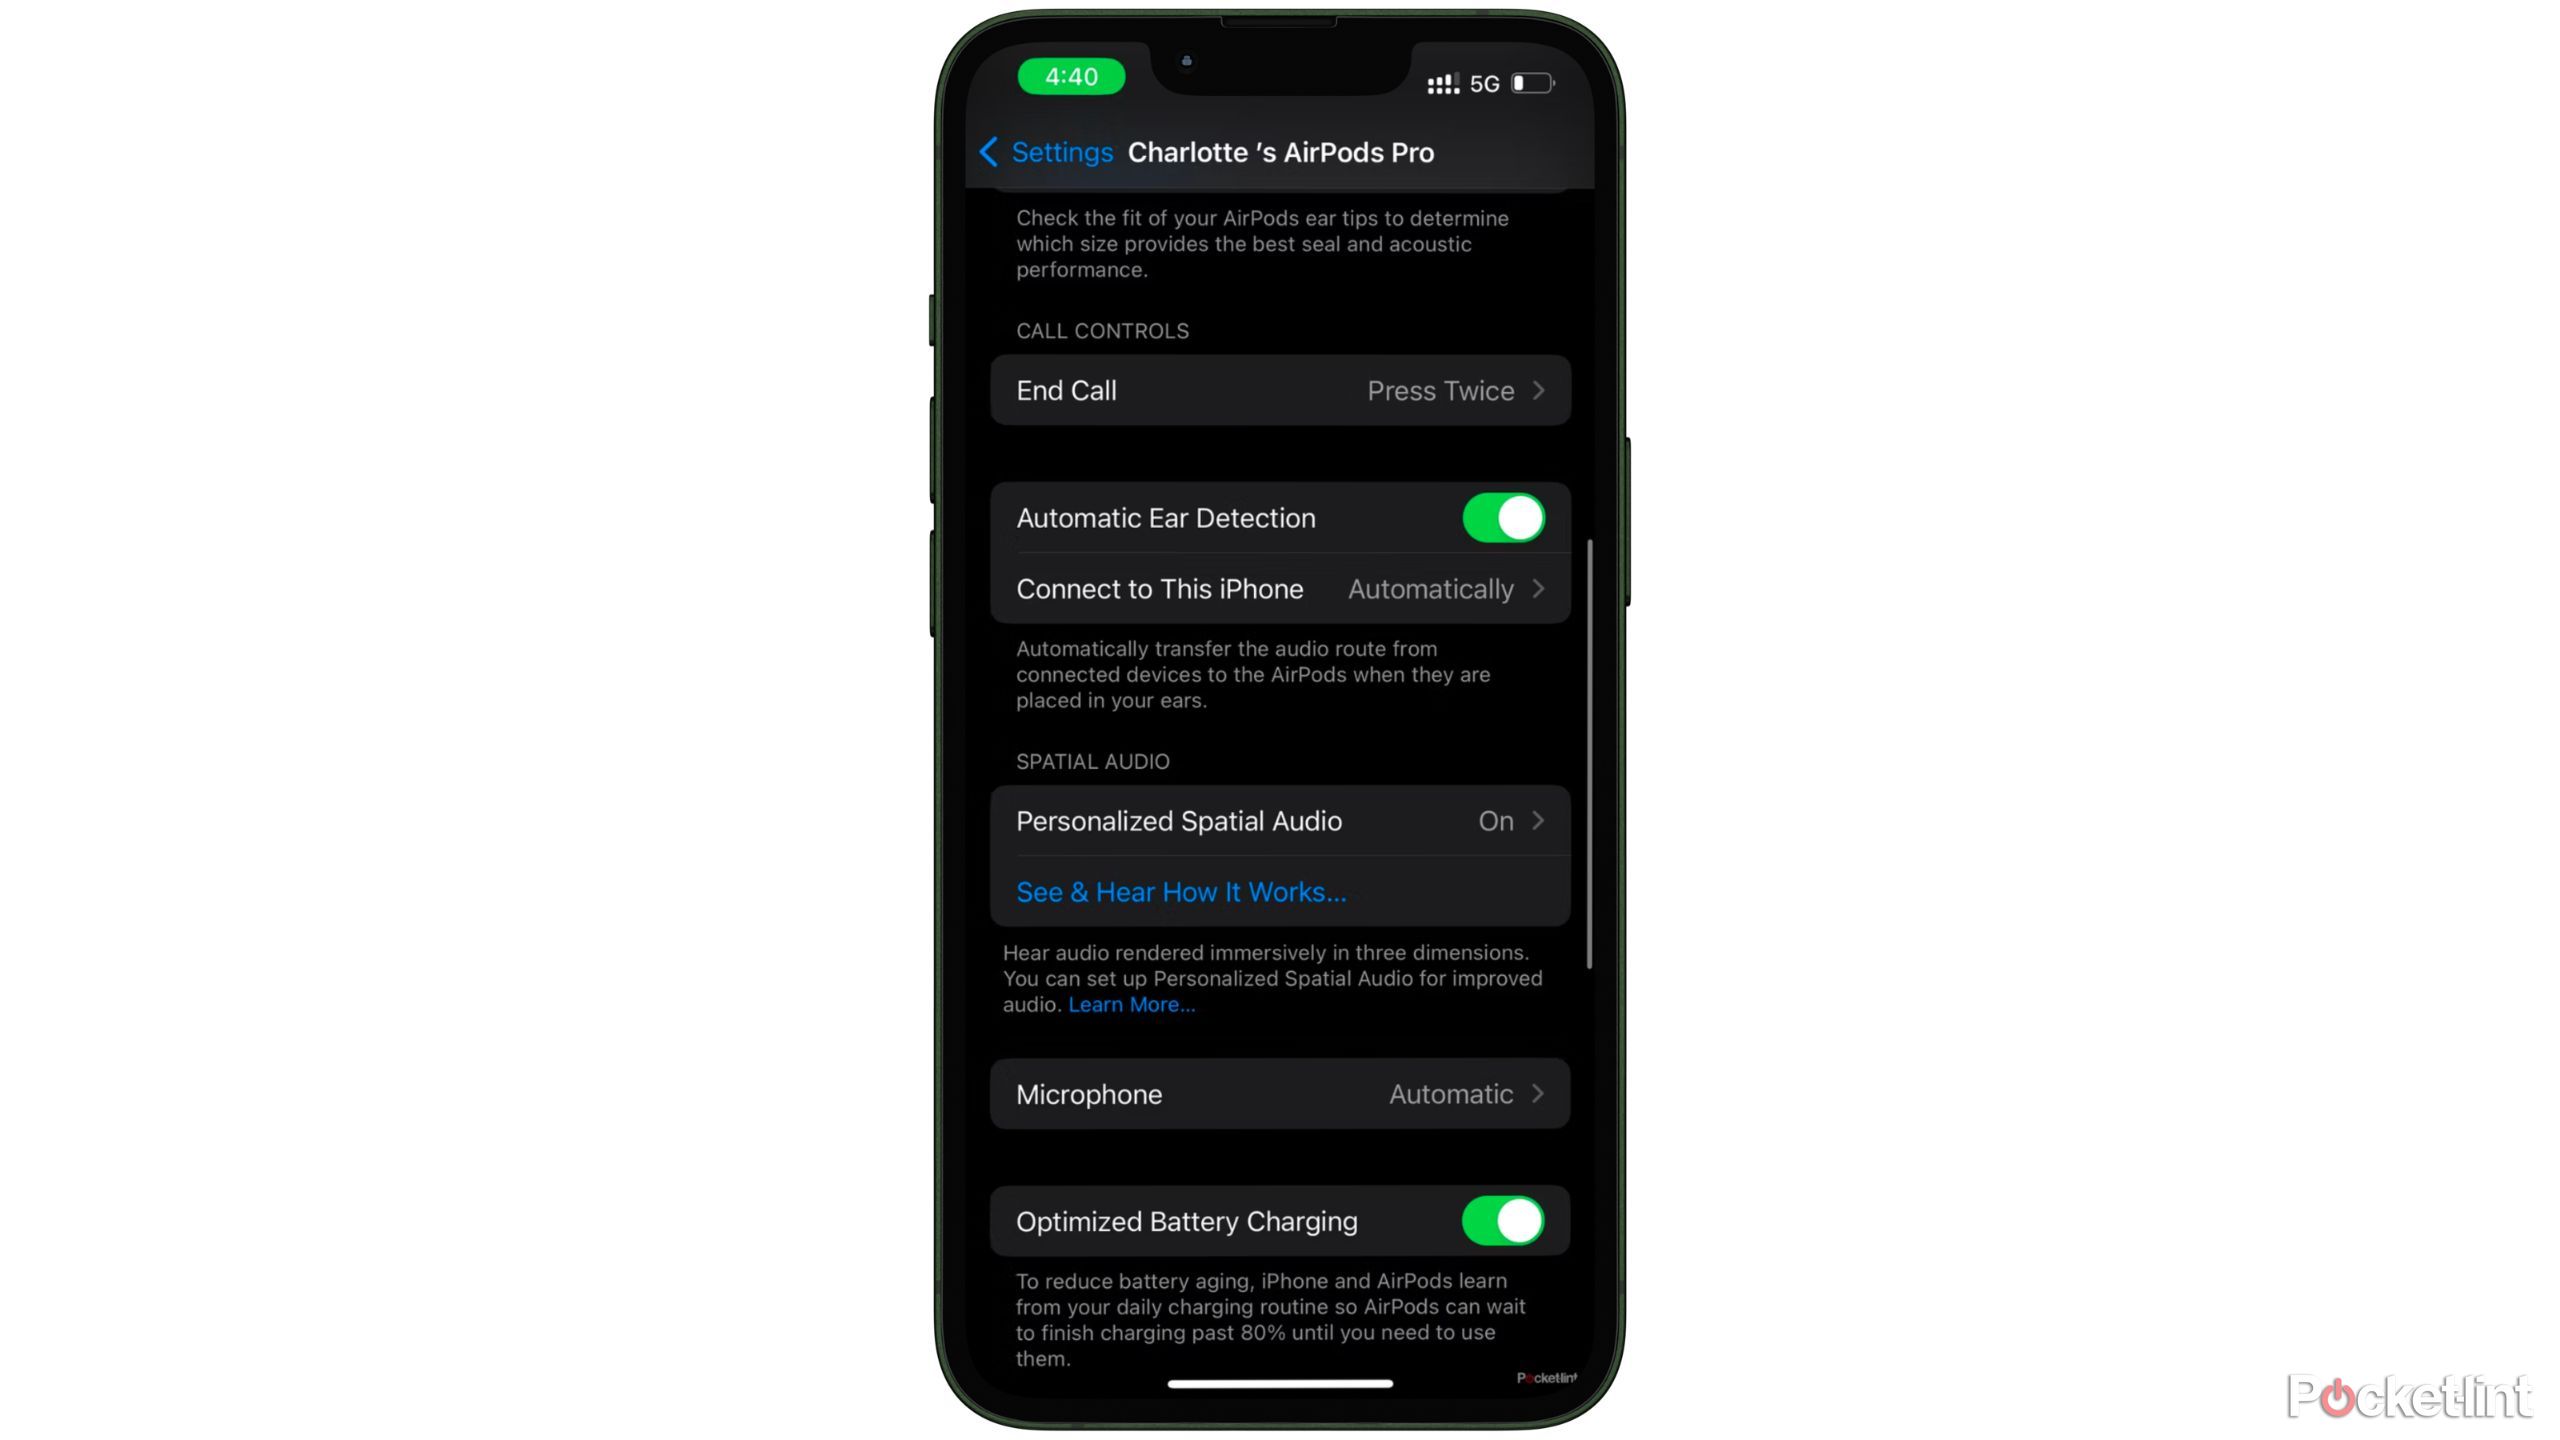
3 Adjust your call controls
Handsfree
One of the great things about AirPods Pro is the ability to easily answer and hang up calls without even touching your iPhone. By default, your AirPods Pro are set to “double press” to end a call. If you want to change this setting, you need to do the following:
- Go to settings:
- If you’re using an iPhone, you should go to Settings and tap the name of your AirPods.
- If you’re using a Mac, go to Apple Menu>System Settingsthen click The name of your AirPods.
- Look for ‘call control’Then Toggle the “End call” option.
- Choose whether you want to press AirPods Pro once or twice to end the call.
4 Control your microphone
If you want to place the microphone on one side
When you FaceTime or make a phone call, your AirPods are automatically set up to switch between the left and right microphones. If you wish to have the microphone on one side, switch as follows:
- Go to settings:
- If you’re using an iPhone, you should go to Settings and tap the name of your AirPods.
- If you’re using a Mac, go to Apple menu > System Settings and click the name of your AirPods.
- Click ‘microphone. ‘
- Change settings to “Auto” changes to “Always Left” or “Always Right”.
When you switch to “Always AirPod Left” or “Always AirPod Right,” it means the microphone on that specific AirPod will be the only one working during calls. You can switch settings at any time by going back to Settings.
5 Music touch control
Seamless listening
You won’t necessarily be able to adjust the touch control settings for all the music controls offered by AirPods Pro, but here’s an overview of how to use touch controls on AirPods Pro:
- arrive Play/pause your musicpress the AirPod stem once.
- arrive boat confusedd. Press the AirPod lever twice.
- arrive go backpress the AirPod stem three times.
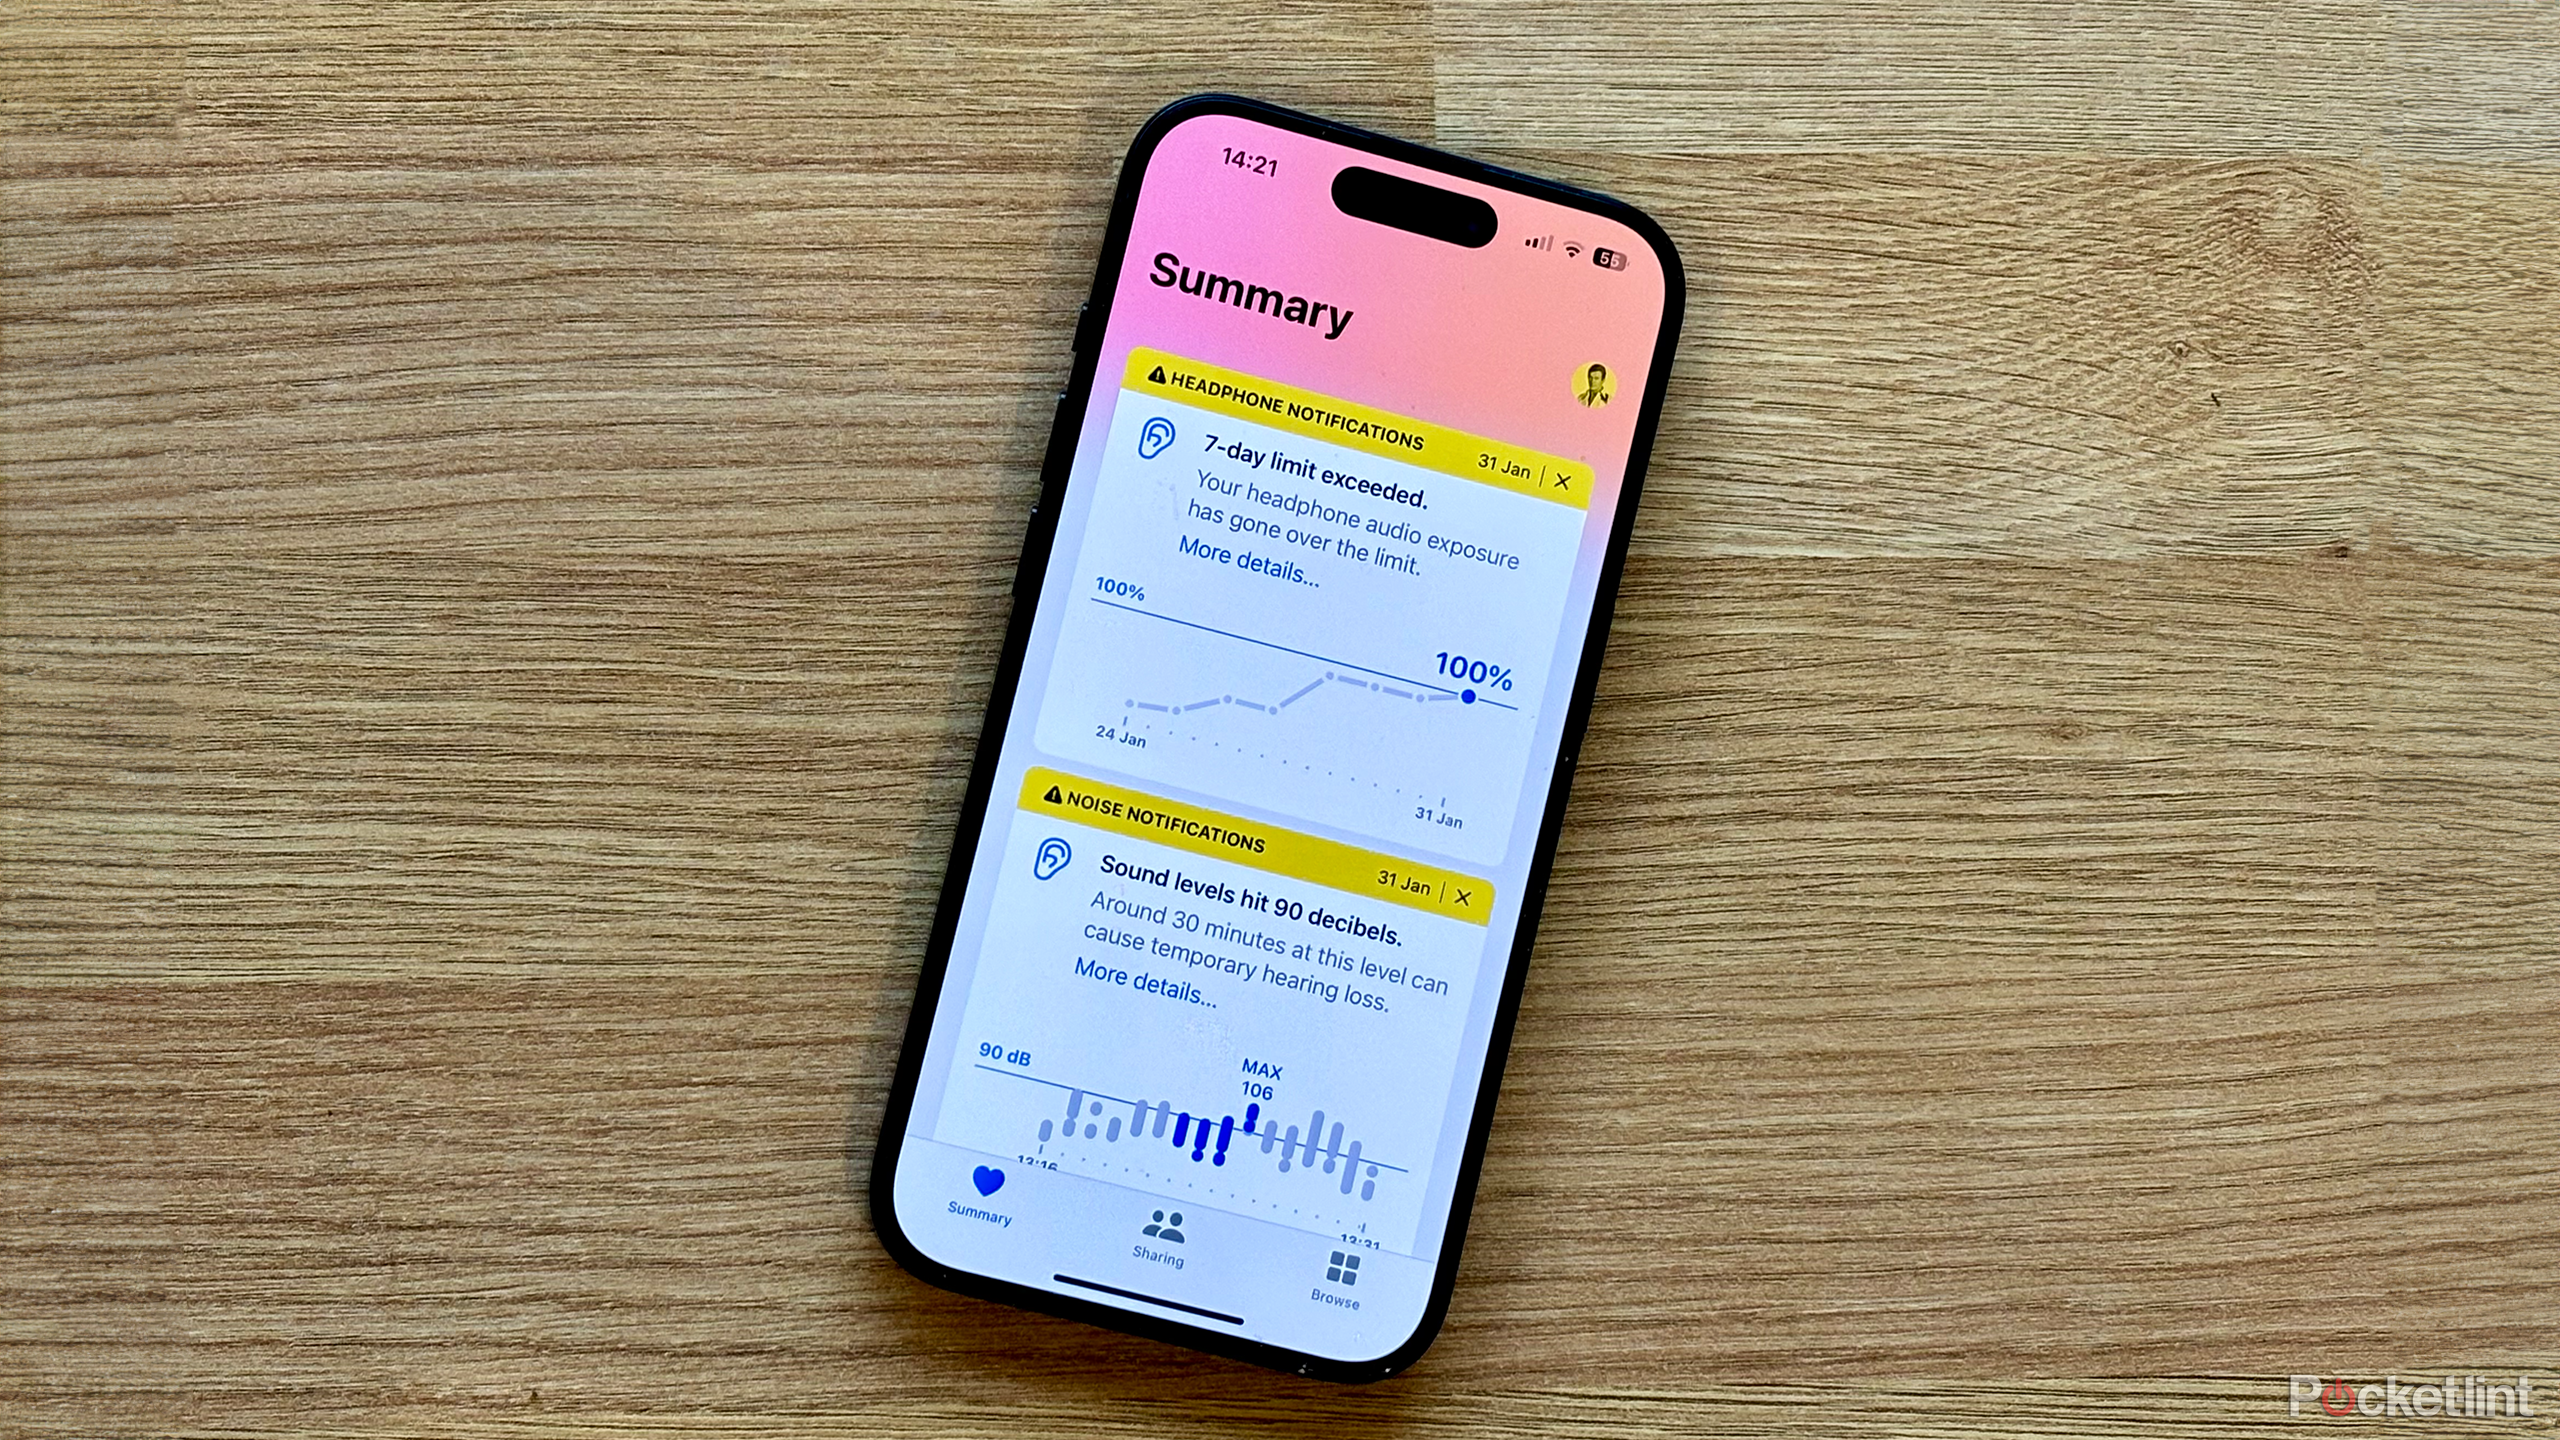
When Apple warns your music is too loud, here’s what you should listen to
Is your iPhone telling you that the music volume is too loud? Here’s how to heed these warnings and protect your ears.