Main points
- Minecraft lacks official support for popular VR headsets like the Meta Quest, but users can still play it with some effort.
- The requirements for installing Minecraft Bedrock Edition or Java Edition on Meta Quest include a connecting cable.
- For those who don’t like tethering to a PC, there’s a sideloadable app called QuestCraft for Quest 1 and 2, with support for 3 coming soon.
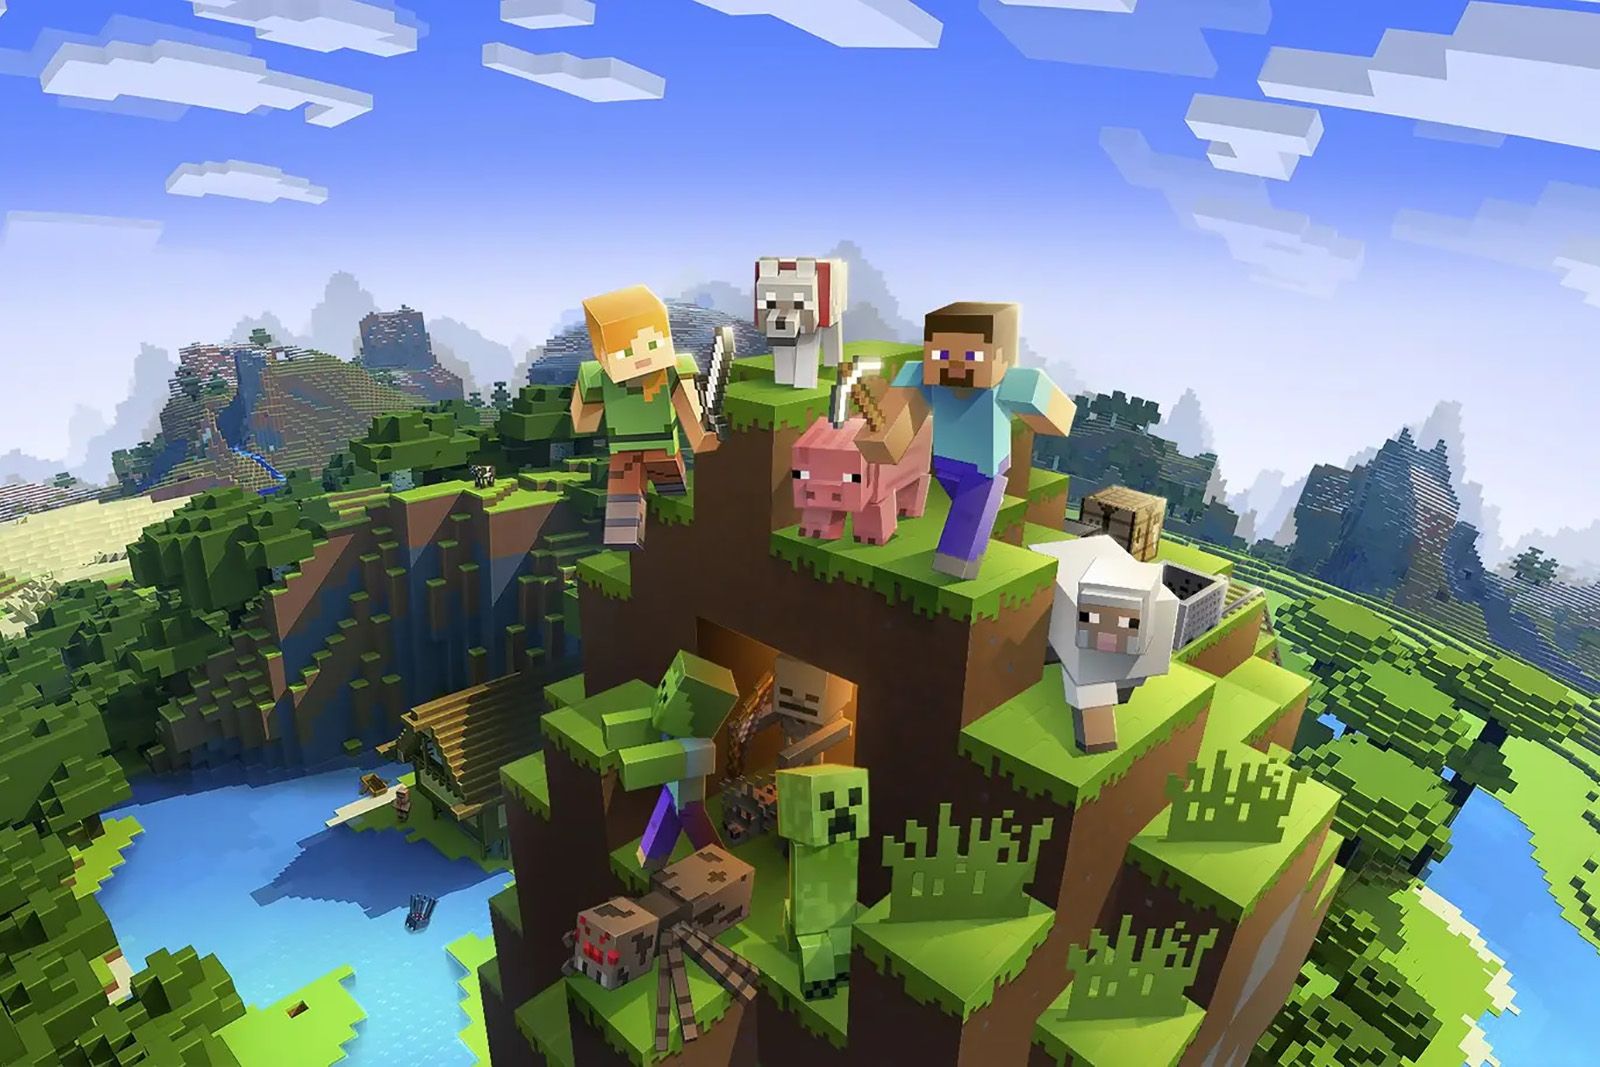
Minecraft is one of the most popular games of all time, growing from a humble indie project to a multi-billion dollar powerhouse available on nearly every device, including tablets and consoles. However, it lacks support for some of the most popular virtual reality headsets.
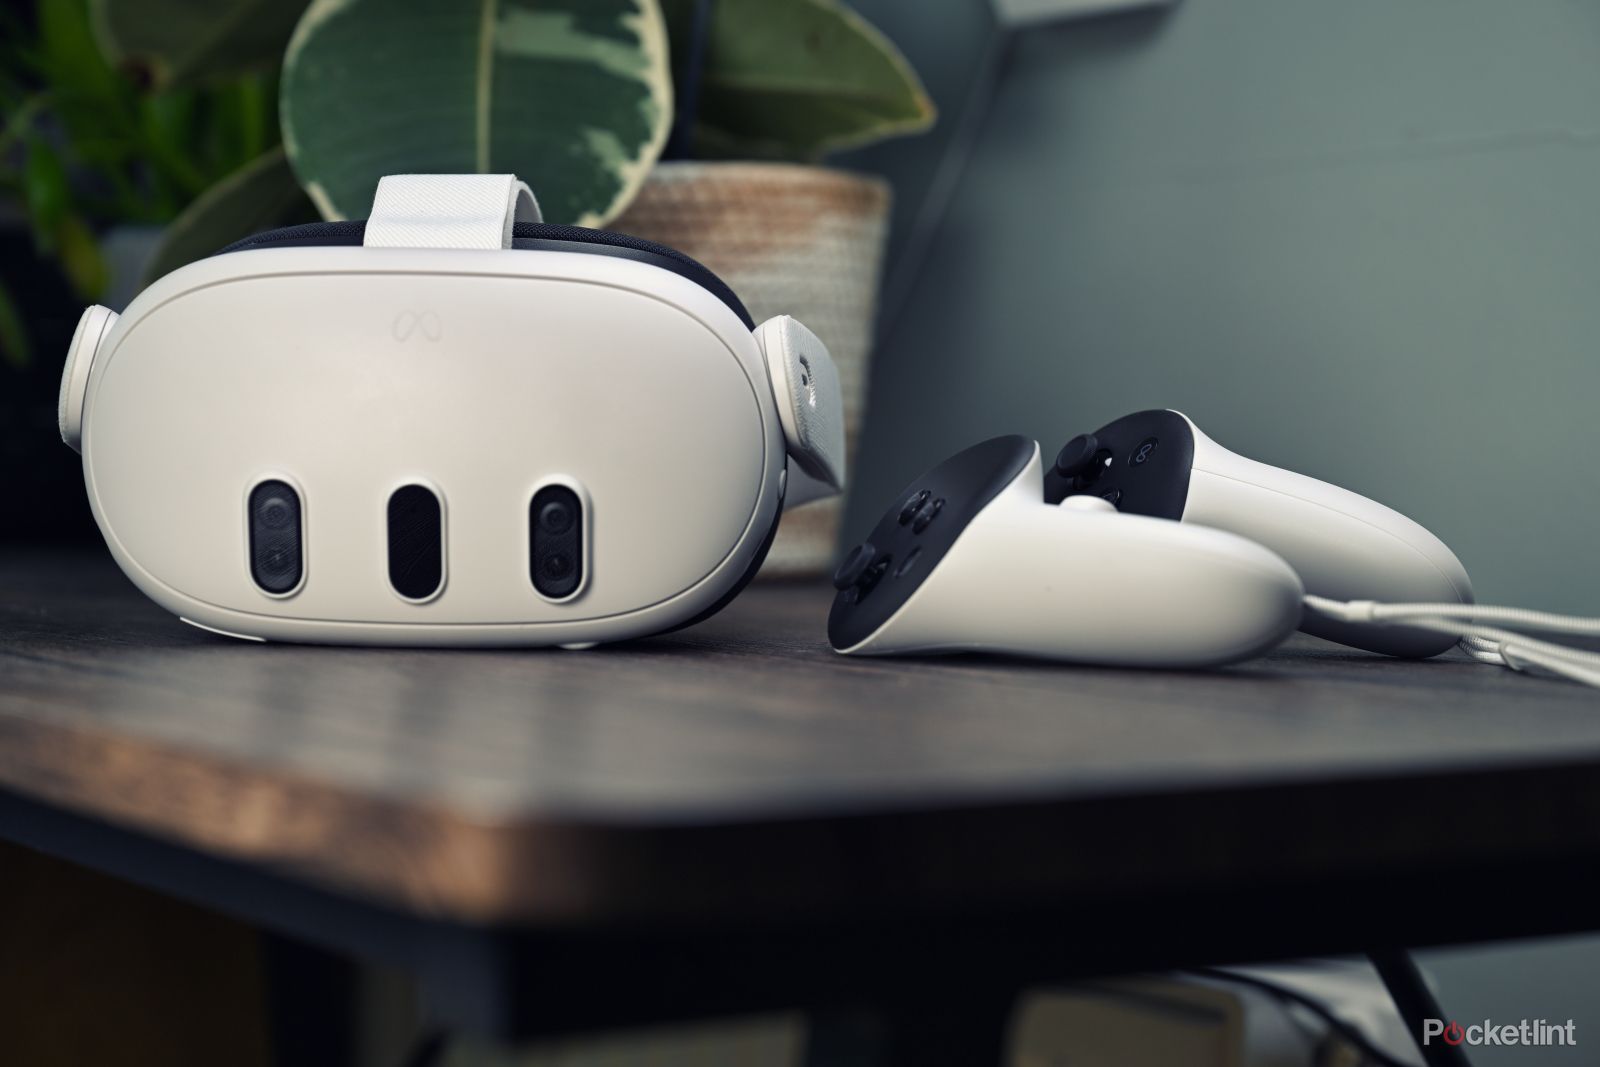
Mojang and Microsoft have yet to release an official version of Meta Quest 3 or Quest 2, leaving many players unable to enjoy their favorite games in VR. Minecraft’s official meta “experience” page shows a large number of users requesting the game. Although there is no official version yet, the adaptability of VR headsets means that with some effort, Minecraft can be run on them.

How to install and play Minecraft on a Chromebook
For a long time, playing Fortnite on a Chromebook was impossible, but now it’s easy. That’s it.
There are two main versions of the game: Bedrock Edition and Java Edition, and instructions are provided for installing both versions on the Quest headset. For either version, you will need a connecting cable.

What you need to get started
To install Minecraft on a Meta Quest headset, the requirements are slightly different depending on whether you have Bedrock Edition or Java Edition installed. In addition to headsets and computers, here’s a brief list of requirements for each device:
Install Minecraft Bedrock Edition on Quest:
- Minecraft Bedrock Edition
- Meta Quest Link Cable
- Meta Exploration App
- bridge application
Install Minecraft Java Edition on Quest:
- Java
- Minecraft Java Edition
- steam
- steam virtual reality
- Meta Quest Link Cable
- Meta Exploration App
- Vivecraft app

Meta Quest Cable
The most reliable way to connect Meta Quest to your PC and play games like Minecraft.
computer requirements
One thing to note about both installation methods is that they both require the Quest headset to remain connected to the PC while playing Minecraft. This is because the headset isn’t using its onboard processing to run programs, it just interprets the computer’s display and relays input from the controller. You’ll need a PC capable of running VR applications, which in this case means at least an Intel i7-6700 processor, 16GB of RAM, and a mid-range graphics card (such as an NVIDIA GTX 1070). These are just minimum specs, so better hardware will equal better performance.

Meta Quest 3 Tips and Tricks: Making the Most of Your New VR Headset
If you purchased a Quest 3 headset or recently received one as a gift, you’ll want to give these tips and tricks a try.
 How to play Bedrock Edition on Quest
Bedrock Edition is the version of Minecraft sold from the Microsoft Store. It’s more stable and user-friendly, so using Quest is very simple.
- Purchase and install Minecraft Bedrock Edition.
- Open Meta Exploration App on your computer.
- Search for “Minecraft” and install it. (Note: This is not a real Minecraft game. This is a bridge application Allows you to stream games to your Quest. )
- Plug in your headphones connecting cables and plug the connection cable into your computer.
- Activate your Quest headset and select “enable” In the Enable Oculus Link popup.
- Open your application menu and search for “Minecraft”. Launch it and play!
How to play Java Edition on Quest
Java Edition is the original version of Minecraft produced by Mojang. While it’s not as user-friendly as Bedrock, it allows for more customization, such as installing mods. Getting up and running in VR is a little trickier, but still very doable. However, you will need some third-party programs to make it work properly. The most notable is Vivecraft, a free app that lets games be played in virtual reality.
- Install Java on your computer.
- Install steam on your computer.
- Install steam virtual reality by steam.
- Purchase and install Minecraft Java Edition.
- download Vivecraft app Link Minecraft to your Quest. Then install Vivecraft.
- Plug in your headphones connecting cables and plug the connection cable into your computer.
- Open Meta Exploration App on your computer.
- Activate your Quest headset and select “enable” meIn the Enable Oculus Link popup.
- Take off the Quest headset, open Steam, and then Launch Steam VR from your library.
- Put the headset back on and the Steam VR interface will appear.
- Select the monitor icon on the bottom row, then select the monitor you will run Minecraft on.
- Open the virtual desktop and start it Minecraft Java Edition.
- When Minecraft opens, select “Vivicraft” In the version selection menu.
- Click Play Minecraft will be available in VR.

Apple Vision Pro vs Meta Quest 3: What’s the difference?
Apple’s Vision Pro is a natural competitor to the highly regarded Meta Quest 3, although the two are very different. Here’s everything you need to know.
 More FAQs
Q: What if you don’t want to link your PC to Quest?
Don’t want to connect to your computer via a connecting cable? Modders have been working hard to create a standalone version of Minecraft for the Quest system. The most advanced currently is QuestCraft, a side-loadable app compatible with Quest 1 and Quest 2, with future support for Quest 3 announced.
“Sideloading” is the process of uploading software to a device without explicit permission from the creator of the hardware. For Meta Quest, all official content comes from their “Experience” store. To sideload, you need an approved program on your Quest, and you’ll still need a cable to stream content to the headset. The best sideloading software for Meta Quest right now is SideQuest, which you can download here.
How to install QuestCraft on your Quest VR system
- Install Java on your computer.
- Purchase and install Minecraft Java Edition.
- buy one connecting cables For your mission.
- Download and install SideQuest Easy Installer.
- Register a developer account eyeballs, Make sure you’re signed in with the same Facebook account you use in Quest.
- among themeta Quest mobile app On your phone, connect to your Quest headset.
- scroll down to Headphone settings.
- switch “Developer Mode” To open.
- Restart your task Open it in developer mode.
- Connect your tasks to your computer Use connecting cable.
- Open SideQuest Easy Installer.
- click”Install SideQuest in your headset” button.
- Once done, open your application library on your Quest VR system.
- choose “Unknown origin” Label.
- Open Side missions.
- When you open it for the first time, it will give you a link code.open a browser and go to sdq.st/link.
- Enter code to link your Side mission account to your Oculus.
- search “Exploring Craftsmanship” In the SideQuest app for Oculus.
- Just click the install button Install QuestCraft.
It’s important to note that QuestCraft is not officially supported by Microsoft or Mojang, which means it will lag behind the main game in terms of new content and bug fixes. As a volunteer-run project, it’s also susceptible to the whims of its developers and may cease updates or support at any time. Play at your own risk.
Q. How to play Minecraft on other VR systems
There are of course other ways to enter the virtual world, many of which support Minecraft natively.
- Eyeballs: To play Minecraft on Oculus Rift or Oculus Rift S, download the game from the Quest Store here.
- valve: Valve’s Index VR system connects directly to Steam, so the above instructions for the Java version of Vivecraft also apply to that system. The same goes for the HTC Vive headset.
- Console: On consoles, VR headsets are supported on PlayStation 4, PlayStation 5, Xbox One, and Xbox Series X/S versions of the game. Sony’s system uses the proprietary PSVR system, while any Windows-compatible headset will work with the Xbox console.
No matter which method you choose, you’ll find Minecraft in virtual reality to be a fun, immersive, and completely different experience.