The page builder in the request portal is an important tool that gives account owners the flexibility to customize the portal according to their branding and functional requirements. The page builder consists of a central banner and menu cards, each leading to a different page – offering extensive configurability.
Administrators can customize banners and cards to meet specific business requirements. For easy access, the menu pages are seamlessly integrated into the EZOfficeInventory web application and request portal. Customizations provided through the page builder are designed to provide a user-friendly interface and can be disabled based on their intended use to ensure a dynamic and customized user experience.
Advantages of Page Builder in Request Portal
The page builder provides a custom experience that can be easily accessed to find the items you need. Here are some other benefits:
1. User-friendly navigation:
Menu cards provide a clear and organized structure, allowing users to easily navigate the portal. Users can quickly find the specific request type or service they are looking for, reducing confusion and frustration.
2. Efficient request submission:
By sorting the catalog into menu cards, users can easily identify and select options that suit their needs. This streamlined process speeds up request submission, saves users time and makes the portal more user-friendly.
3. Information hierarchy:
Menu cards allow you to prioritize and present information in a hierarchical manner. Important or frequently requested items can be highlighted, while less common options can be nested under related categories. This helps users find what they need more efficiently.
4. Visual appeal:
Menu cards can be designed with relevant images and colors to enhance the overall aesthetics of the homepage. Not only does this make the portal more visually appealing, but it also helps users quickly identify and select the desired options.
5. Clear communication:
Use menu cards to help clearly communicate available services or types of requests. Requesters can easily understand the range of options available to them, increasing transparency and reducing the likelihood of errors when submitting requests. Clear communication also reduces the time it takes to realize value.
Using the page builder in the request portal
Let’s take a look at how to customize the request portal:
Go to Settings → Request Portal → Page Builder.
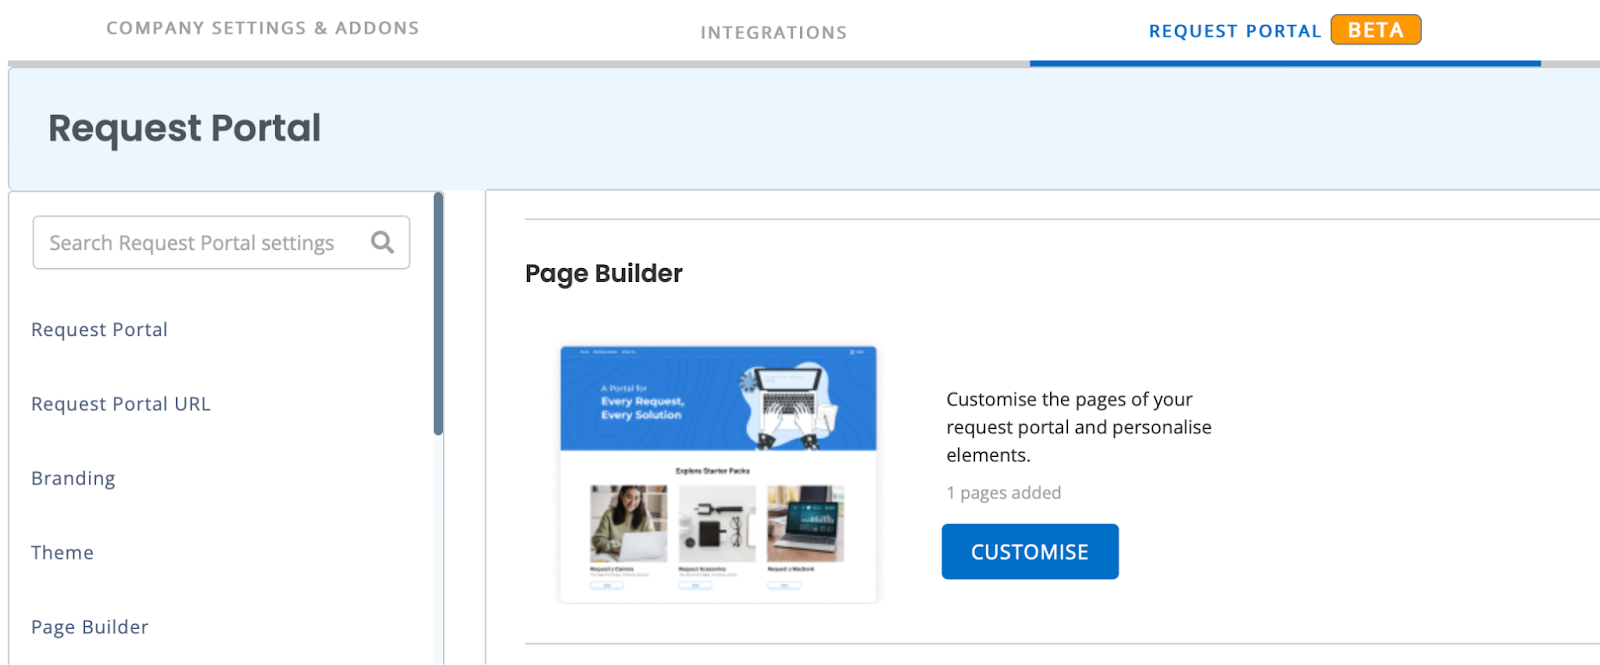
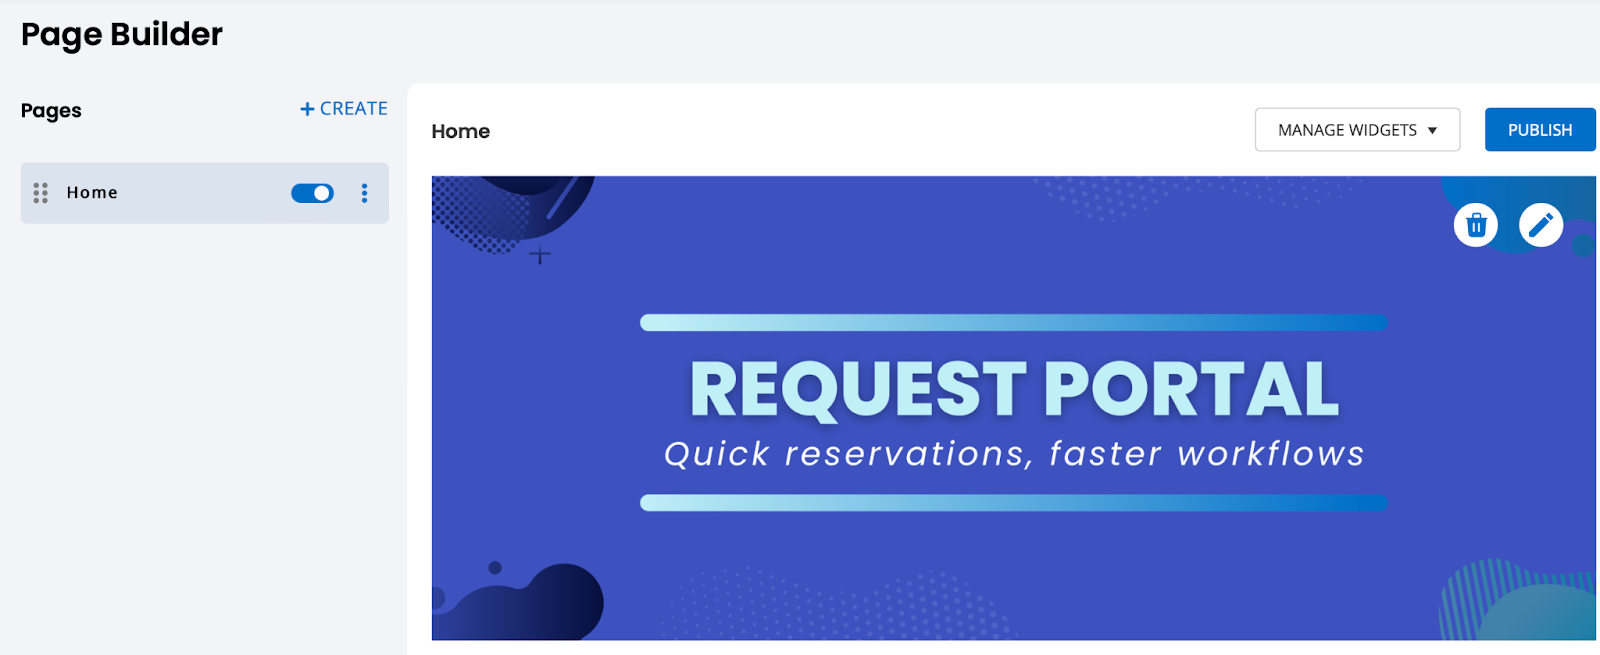
You will be redirected to the page builder where you can add and customize pages.
1. Create a new page

Click the “Create” button in the upper left corner to start making the menu page, as shown below:
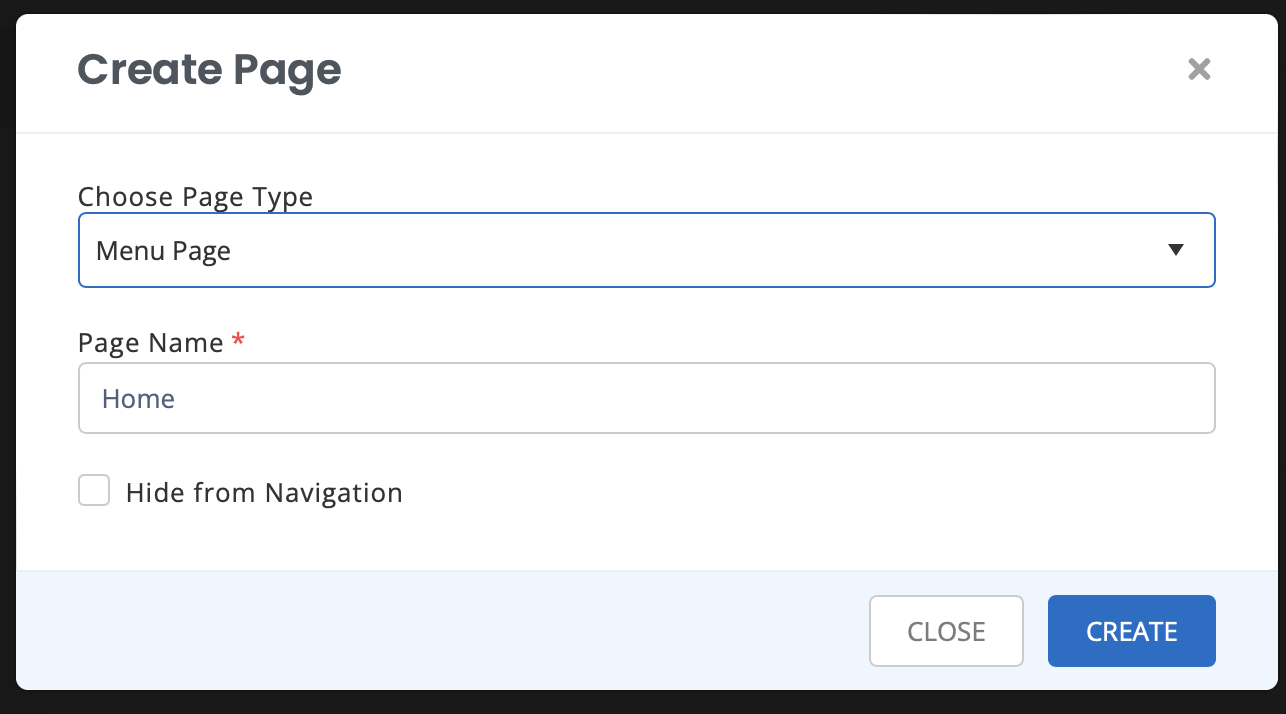
If you don’t want the page to appear in the navigation bar, you can select “Hide from navigation.” All hidden pages can be accessed by placing their link on the menu card.
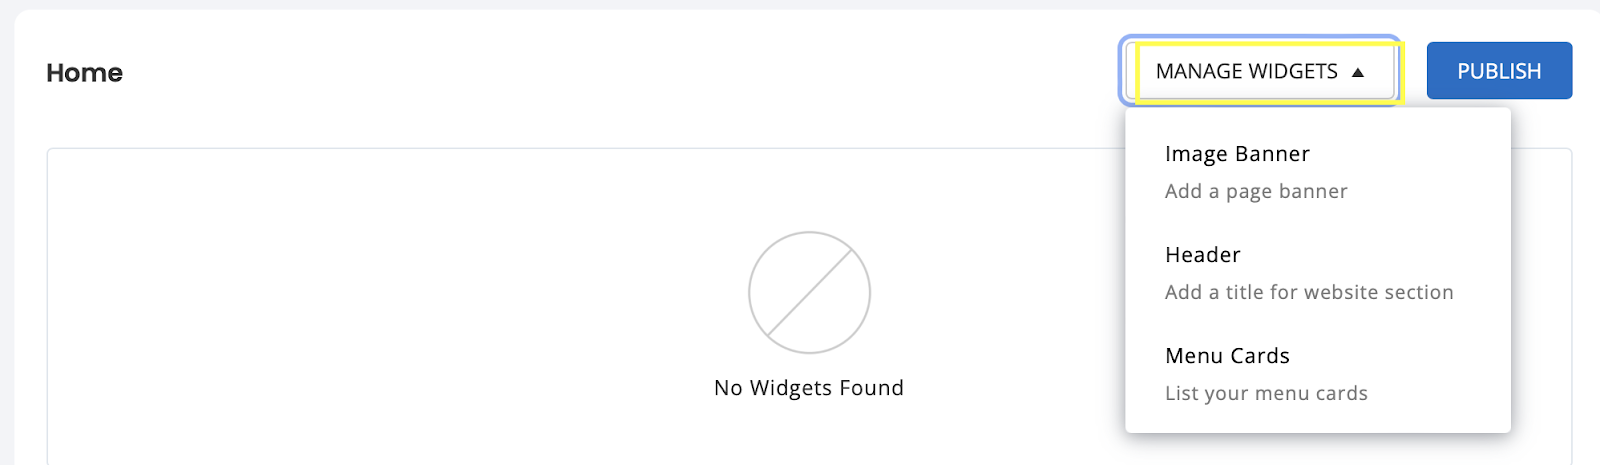
2. Manage widgets
Once you create your page, you can start customizing it. Go to “Manage Widgets” → Add Banner/Header/Menu Card.
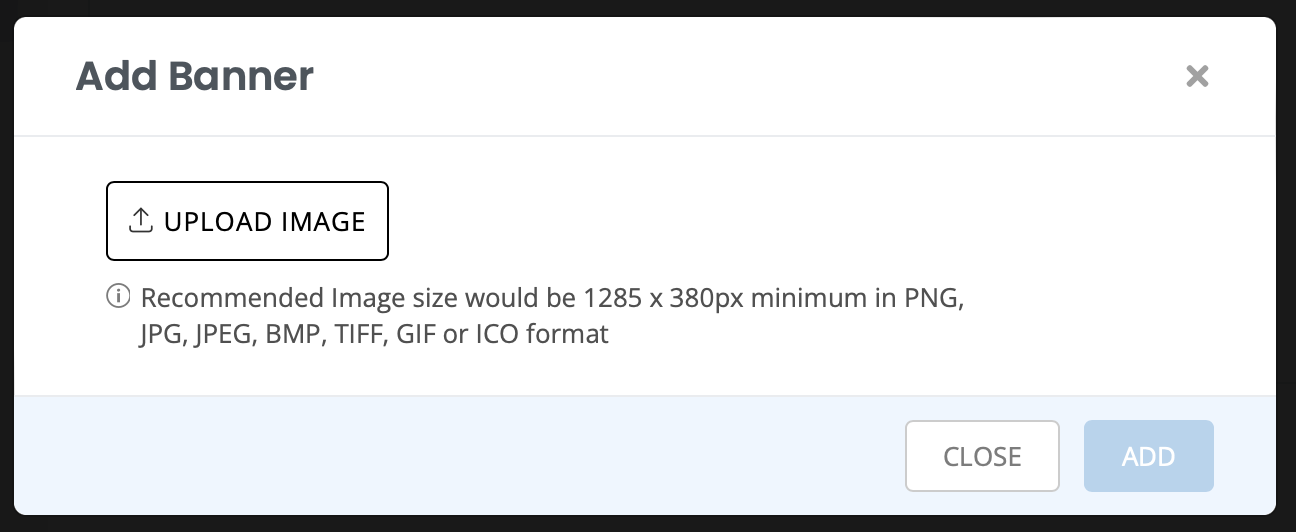
When you choose to add an image banner, a pop-up window displays the size requirements:
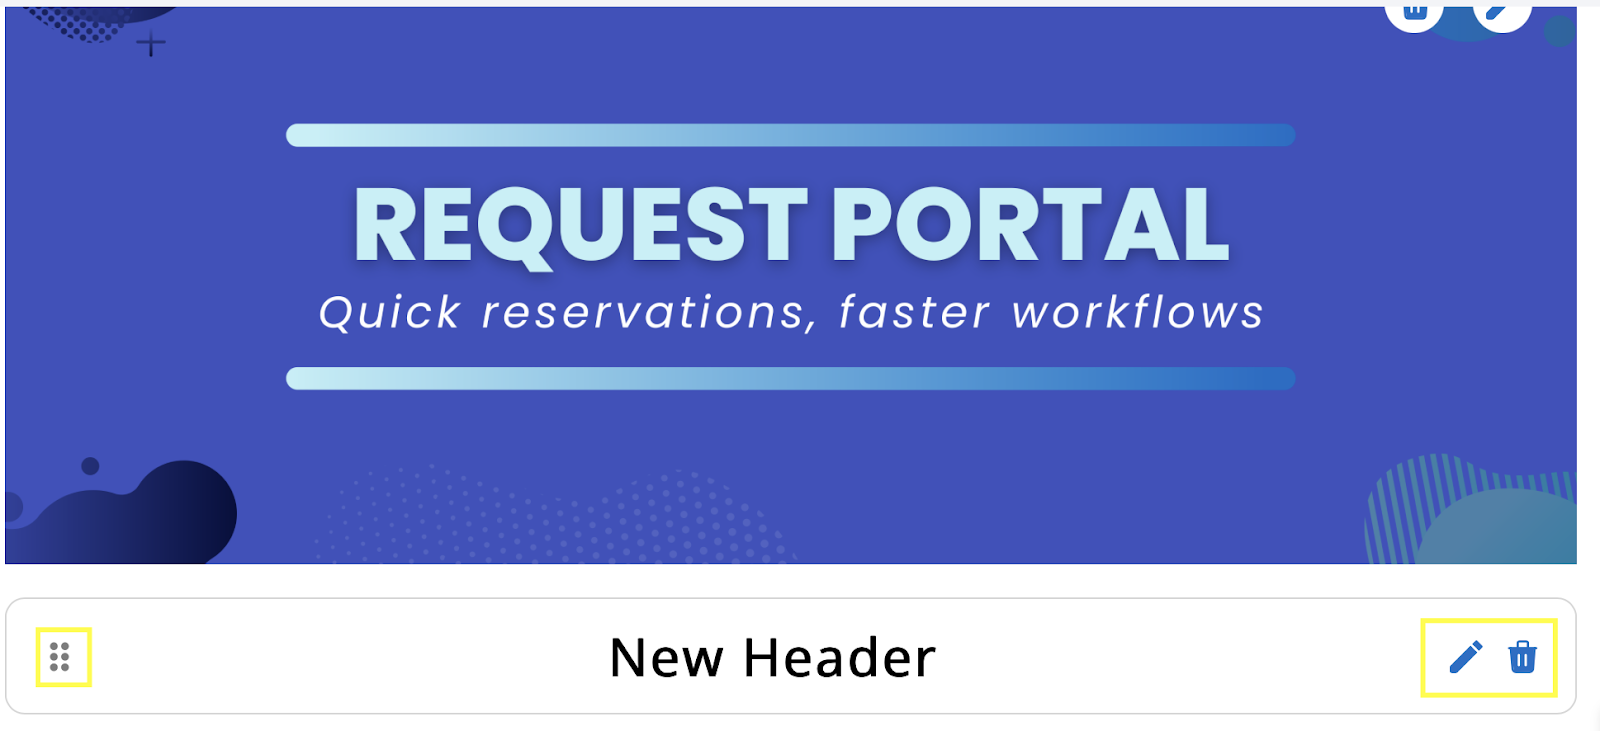
The uploaded banner will look like this:
In the upper right corner, you have the option to delete or edit the banner.
Next go to Manage Widgets → Add Title. As shown in the image below, you can edit the header title by clicking the “Edit” button on the right:
By using the drag and drop buttons to the left of the title, you can move its position.
Next, add menu cards from the Manage Widgets button. An overlay similar to the following will appear:
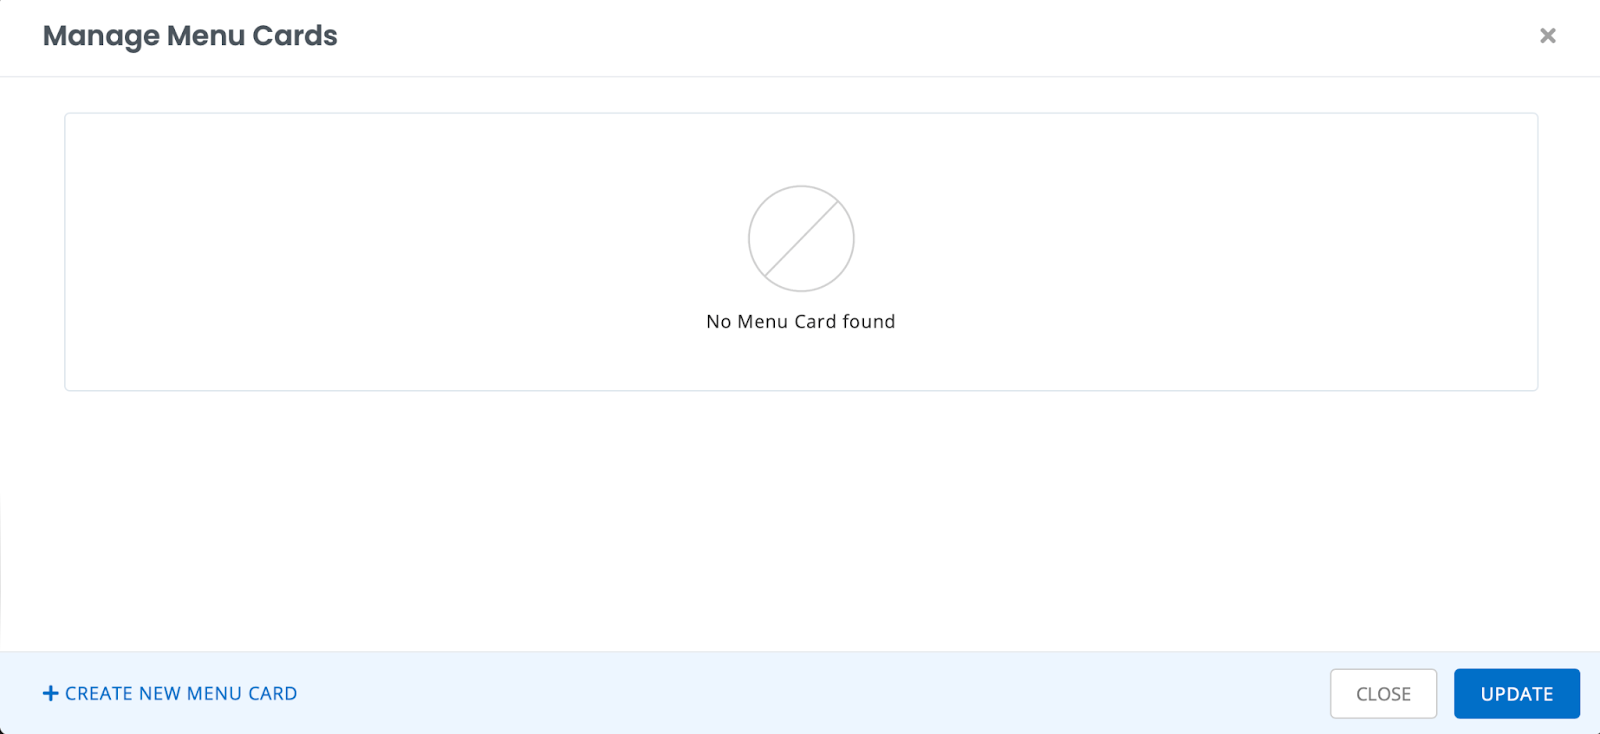
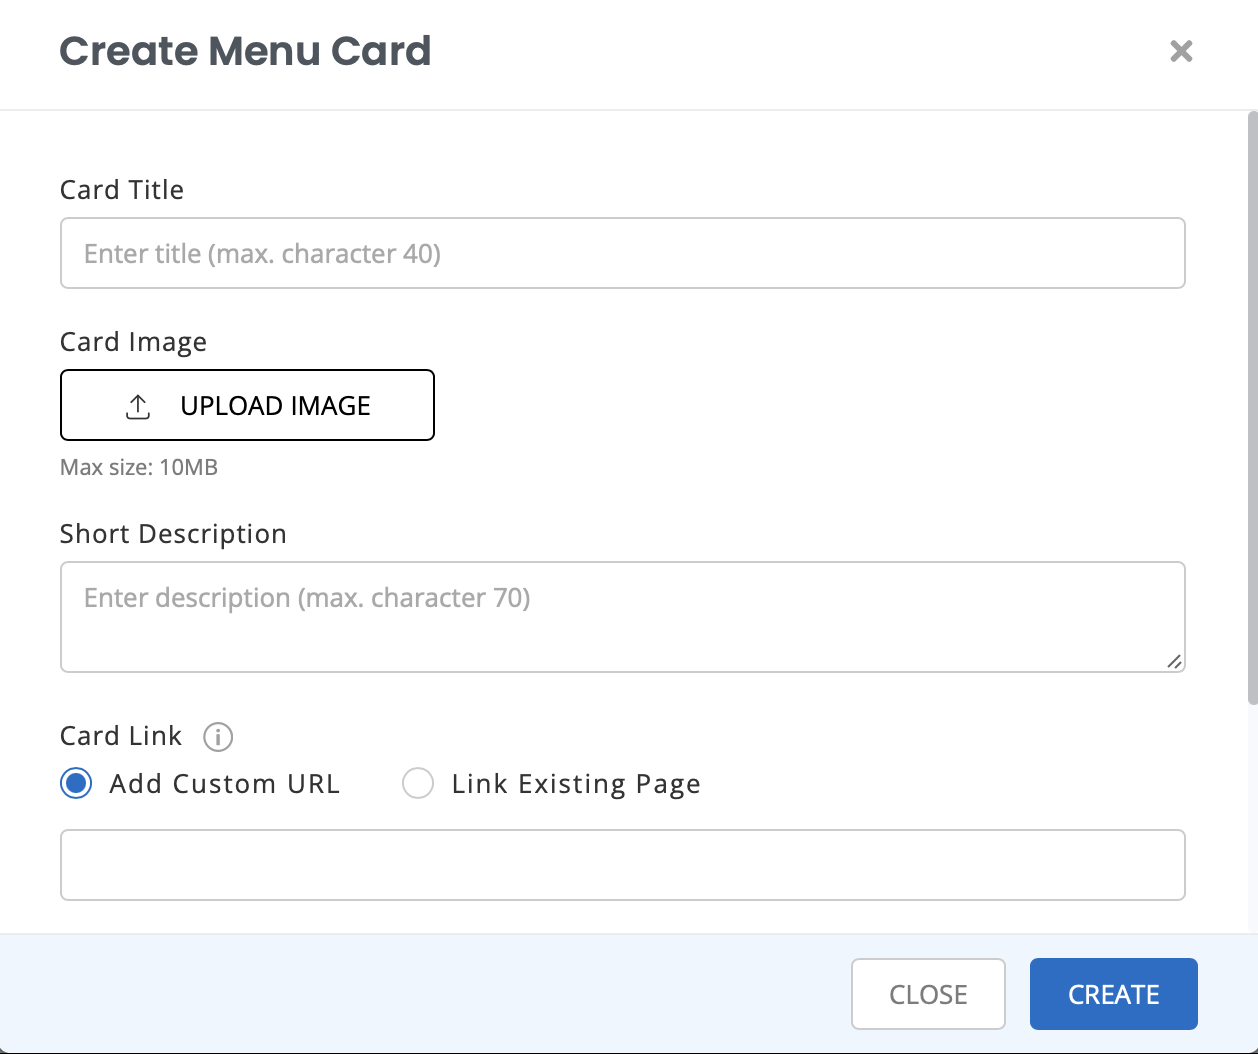
Click Create New Menu Card. Enter a card title, description and upload relevant images. As shown below, you will have two options to link the menu card to: add a custom URL or link an existing page.
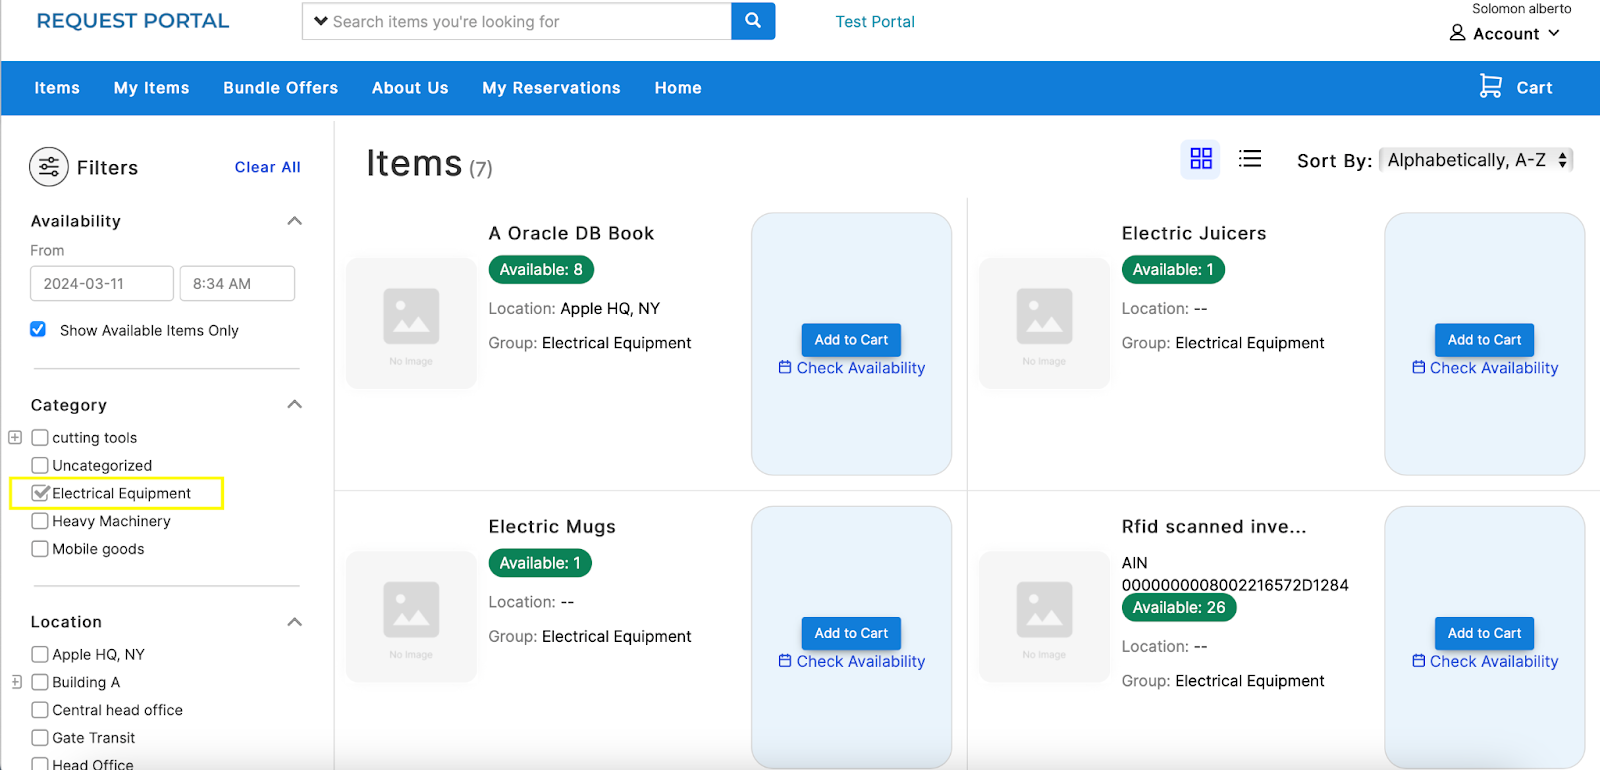
By using custom URLs, you can add links to portals that don’t have standalone pages. For example, for the “IT Essentials” menu card, you want to link all the electrical equipment added to the project. Go to the “Items” page, select Electrical Equipment under the category and copy the link in the card link:
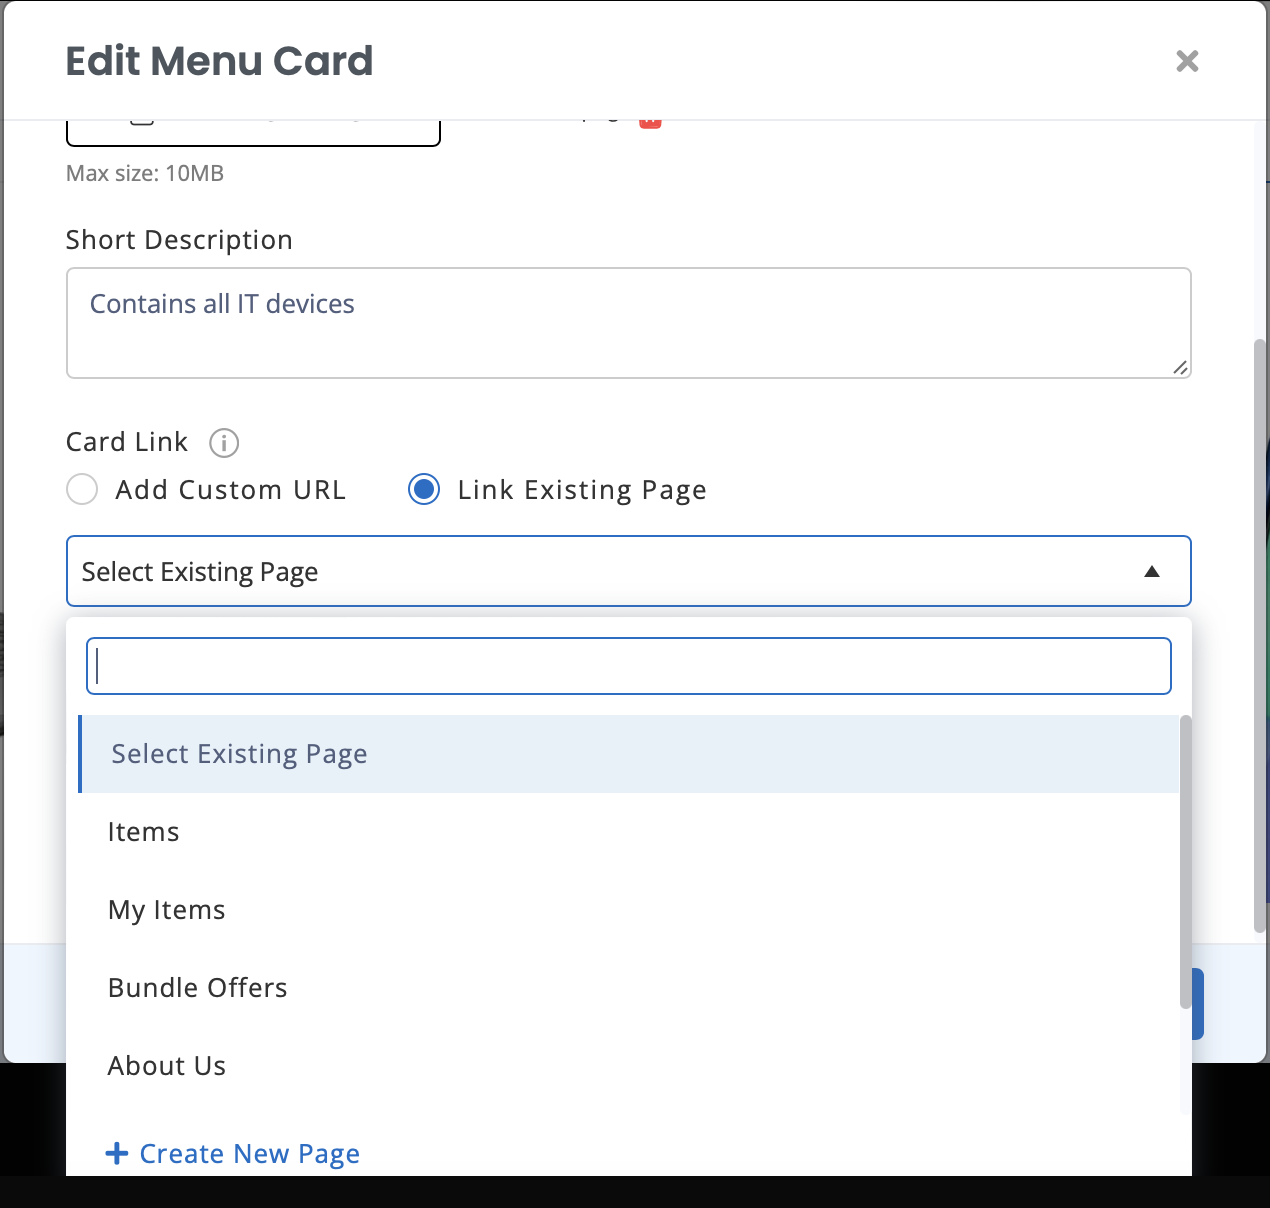
Alternatively, if you want to link an existing page, you can do so from the drop-down list:
Next, you can add button names and links to the menu card:
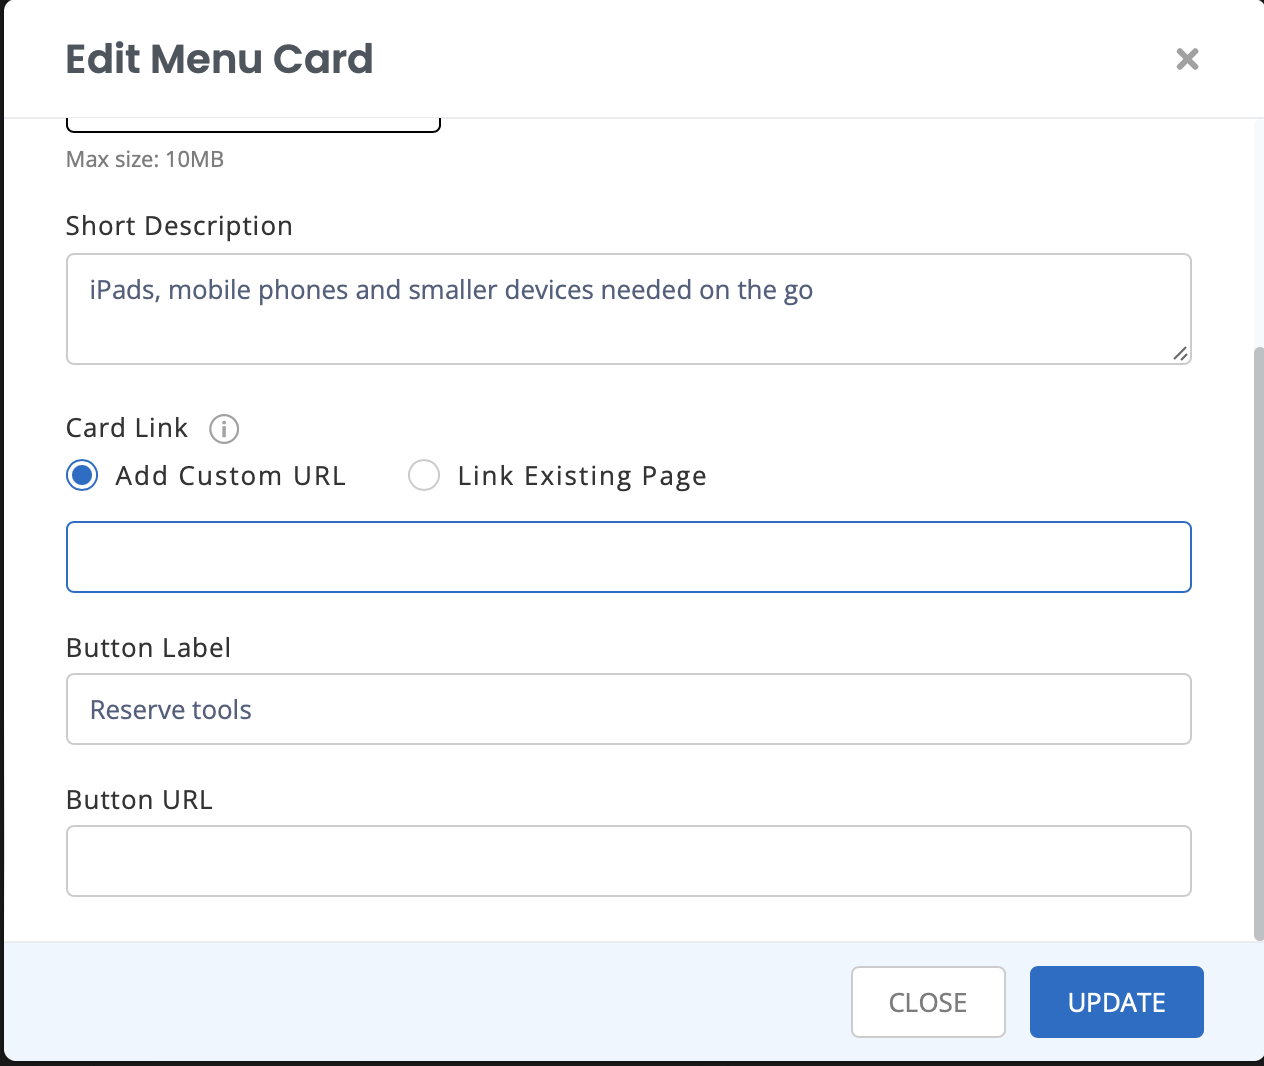
If you want to redirect requesters to a specific page via a button, you can add its link in the “Button URL” text box. After adding all necessary links and text, click Update.
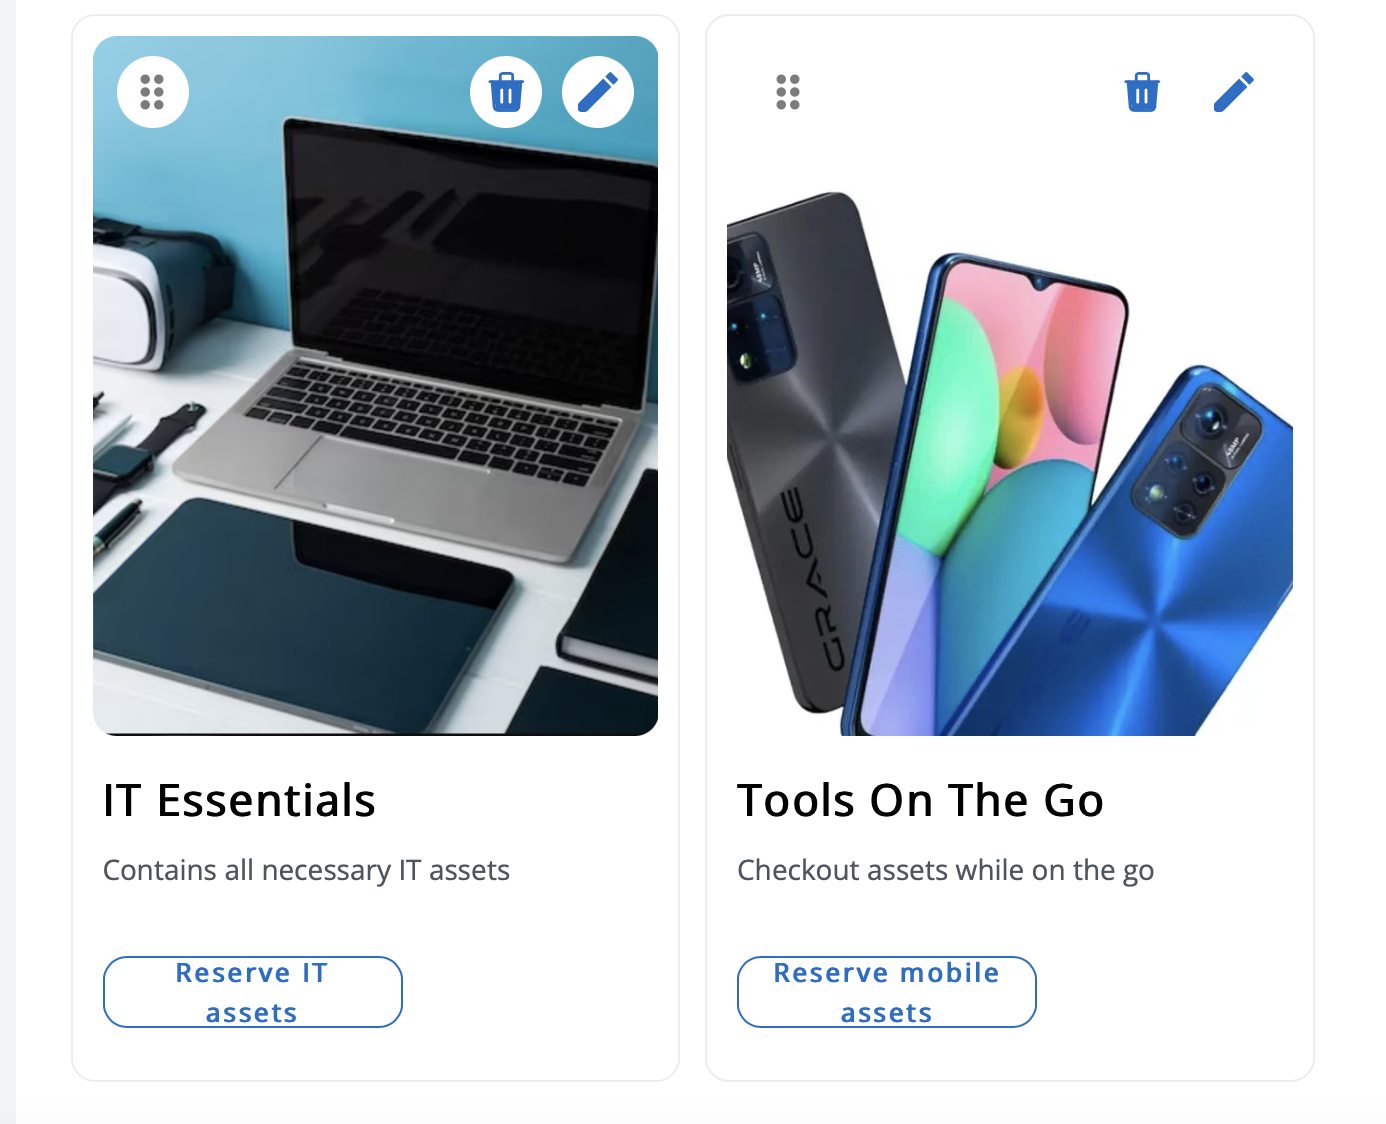
Once completed, the menu card will look like this:
3. View your page
To see how this page will look in the portal, go to the EZOfficeInventory web application and open the portal link from settings. Since we have already set up the home page from the page builder, the portal link will open to the designed custom page: